7 Concealer Mistakes That Make Under-Eyes Look Older (and What to Do Instead)

Every product on Beauty Empties is one that actually gets used up and bought again. Some of the links in this post are affiliate, which means we may earn a small commission if you make a purchase, at no extra cost to you. Thanks for being here!
Makeup artist Bobbi Brown once called concealer “the secret of the universe,” and we have to say, we kind of agree. The right concealer, placed well, can make you look like you slept eight hours and drank a gallon of water. (Two things I can guarantee you we did not do). Done the wrong way, however, and the opposite result can occur, putting every little wrinkle and fine line on stage like American Idol.
The problem is most of us learned to apply concealer in our twenties, when you could basically smear dirt on your face and it would look good. But now, one wrong move and we can look 10 years older than we are. Hey, we love our age. But we don’t mind when people say “oh wow I would have never guessed it!!”
Thankfully, with a few small fixes and swaps we can make concealer work hard for it’s money, in all the right ways. We took advice from the best makeup artists on how to make our concealer dreams a reality. But first, it helps to know what NOT to do!
1. Covering the Whole Under-Eye When the Darkness Is Just the Inner Corner
Almost every concealer tutorial has you sweep product from the inner corner out to the outer corner, up to the lash line, and down in a V. If your undereye darkness runs all the way across, that approach makes sense. For most of us, though, the real shadow sits at the inner corner, and flooding the entire area does two things you don’t want. It can shrink the eye by erasing the natural contour that gives it shape, and it loads product onto the part of the under-eye that moves the most when you smile, which is exactly where it ends up creasing.
British makeup artist Wayne Goss calls inner-corner brightening “a forgotten technique in makeup artistry,” and it’s easy to test for yourself: smile in the mirror and watch where the skin gathers, then find the small patch near the inner corner that barely moves at all. That’s the spot where a little brightening actually earns its place, lighting up that inner spot the way it naturally sits on a well-rested face, while the mobile area is left mostly alone. A radiant, sheer-to-medium concealer is all this takes, pressed in with a finger.
This is exactly what I do, on days when I’m either wearing concealer alone, or under foundation. I will sometimes use a concealer brush, but I do often find my finger, like Goss suggests, does an even better and more natural job.
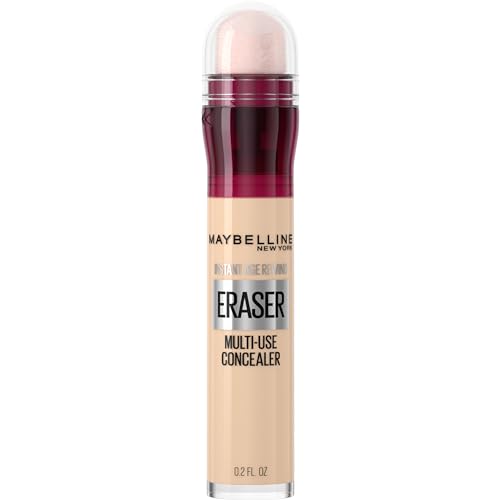
Maybelline Instant Age Rewind Eraser Concealer
A radiant everyday concealer for brightening right where you need it. This is the drugstore one that’s lived in makeup bags for years, and the reason is the finish: it’s luminous rather than flat, so it brightens the inner corner without looking like a patch. The sponge-tip applicator makes it easy to dot on a small amount and press in. The one thing to watch is that same sponge, which grabs a lot of product, so swipe the excess onto the back of your hand first, because overloading it is what sends it into lines later in the day.
2. Reaching Straight for a Light Concealer to “Cancel” Dark Circles
This instinct makes sense: dark circles look dark, so you grab the brightest concealer to wipe them out. The problem is that under-eye darkness is usually blue or purple-toned, and a pale concealer laid straight over it doesn’t cancel that, it just goes ashy and grey and can pull more attention to the area. As Glam Girl Gabi, a makeup artist of nearly two decades, puts it, a too-light concealer “is not going to have the power to cover…” and instead “it’s actually going to make [that area] look really ashy and really weird.”
The fix is one small step most of us skip: color correction. A thin layer of peach or salmon corrector neutralizes the blue first, and then a little concealer on top reads natural instead of chalky. Match the depth to your skin, a light peach on fair skin and a truer orange on deep skin, and keep it sheer, because the corrector is doing quiet work under the concealer, not standing in for it.
Adding a peach corrector under their usual concealer is the step BEEs say finally fixed the grey, ashy look they could never explain, and the advice they pass on is to use a whisper of it and tap rather than drag. BEEs with deeper skin tones add that a true orange, not a pale peach, is what actually neutralizes the darkness for them.
The Buzz
Color correcting is just the color wheel at work. Peach and orange sit directly across from blue and purple, so they cancel each other out, which is why a peach corrector erases blue-toned circles that a flesh-toned concealer only muddies. The same logic runs through makeup: green calms redness, lavender brightens a sallow, yellow-toned complexion. Opposite colors neutralize, side-by-side colors intensify.

L.A. Girl Pro Conceal HD Peach Corrector
A few-dollars peach corrector that cancels blue-toned darkness. This is the cult cheap corrector that makeup artists keep in their kits, a creamy peach that neutralizes the blue and purple under the eyes before your concealer goes on. It blends easily with a fingertip and a single tube lasts a very long time. It is heavily pigmented, which is the point and also the warning: use the smallest amount and sheer it out, because too much reads orange, and set it lightly so it stays where you put it.
3. Using a Thick, Full-Coverage Formula That Cracks by Afternoon
The dense, matte, full-coverage concealers that looked airbrushed at 25 are usually the same ones that crease and emphasize texture now. A heavy formula sits on top of the skin instead of melting in, and as the day goes on it settles into every line and only looks drier the more you layer. Gabi describes the spiral exactly: “the more product we put on top of the movement, the more we’re going to have issues with creasing,” and then the more you set it, the chalkier it looks.
The swap is a hydrating, lighter-coverage concealer that moves with your skin rather than fighting it. You lose nothing in real life, because sheer product pressed where you need it brightens just as effectively without the cracking. If one pass isn’t enough for a particular spot, build a second thin layer only there, and leave the rest sheer.
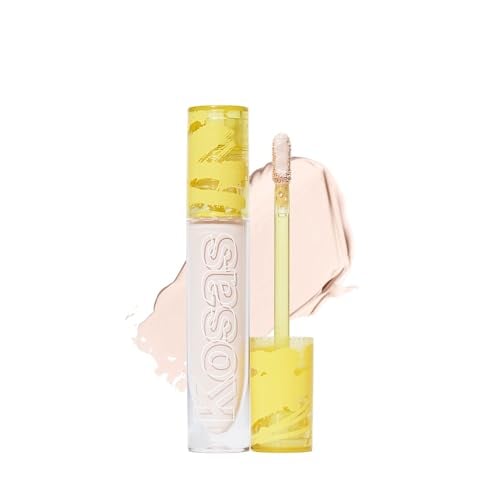
Kosas Revealer Concealer
The hydrating one for under-eyes that crease the second you blink. This is the concealer that gets recommended over and over for skin with any texture, because it’s built with hyaluronic acid and a creamy, sheer-to-medium finish that brightens without sitting in lines. It blurs the area and stays comfortable for hours rather than going crusty. It is medium coverage by design, so very deep pigmentation may need a second targeted layer, and at the luxury-tier price it costs several times what a drugstore tube does. For skin that creases, most people find it worth the difference.
What Our BEEs Say
Switching from a full-coverage matte concealer to a hydrating one is the change BEEs credit most for finally getting through a day without creasing. Revealer comes up constantly as the bottle that converted the skeptics, with the dewy finish and the lack of midday cracking getting the loudest praise. The recurring grumble is the price next to a drugstore tube, though most decide the difference in how it wears earns it, especially on the days they’re being photographed.
4. Skipping the Prep Step Entirely
A lot of creasing starts before the concealer ever comes out, on under-eyes that are dry and unprepped. When the skin is parched, concealer grabs and breaks apart instead of gliding into place. A thin layer of lightweight eye cream gives the area enough slip that product sits smoothly on top. The key word is lightweight, since a heavy, greasy cream is its own mistake in the other direction, the kind that makes concealer slide around and separate before noon. Let it sink in for a minute before you go in with anything else.
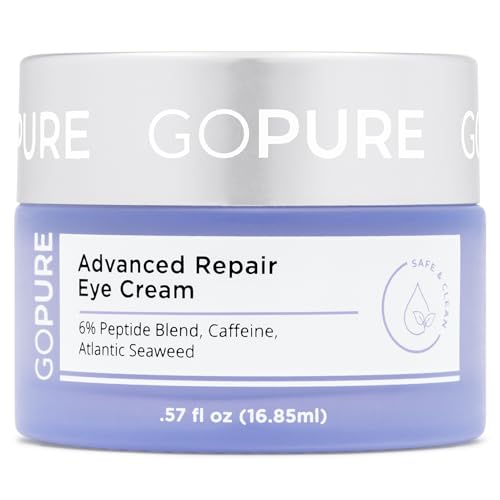
goPure Advanced Repair Eye Cream
Lightweight daytime prep so concealer glides instead of grabbing. Gabi reaches for this one under makeup specifically because it hydrates in a light, almost jelly way without leaving the oily residue that makes concealer travel. It absorbs fast, which is what you want in a morning prep step, and it gives the under-eye just enough cushion for product to sit smoothly. Set expectations where they belong: this is prep, not a treatment that erases deep darkness, and the smart move is to let it absorb fully before your corrector goes on.
5. Baking It Under a Pile of Powder
Baking, the trick of packing on powder, letting it sit, then dusting it off, was everywhere a few years ago and it does photograph beautifully under a ring light at 25. On an under-eye with any texture, it does the opposite of what you want, drying the area out and pressing powder into every line so the whole thing reads more textured by afternoon. Powder isn’t the villain here, but a thick layer of it absolutely is.
Set with the lightest possible hand instead. A tiny amount of a finely milled powder, pressed gently into just the spot that tends to crease, holds everything in place without the cake. If your concealer is hydrating and you used a sheer amount, you may not need powder under the eyes at all. When you do, less is the whole trick, and a fluffy brush beats a loaded puff.
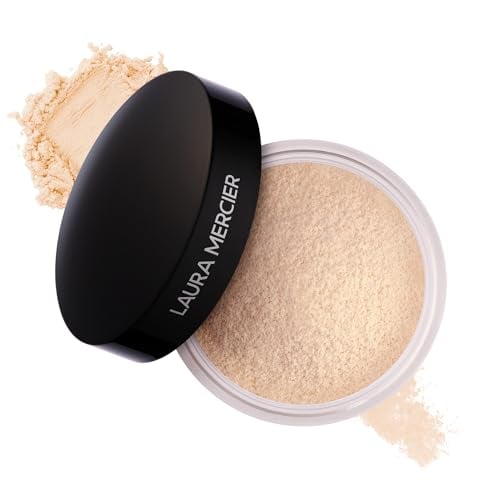
Laura Mercier Translucent Loose Setting Powder
The finely milled classic, used in a fraction of the amount you think. This powder has been a makeup-artist staple for decades because the milling is so fine it sets without obvious texture, which is exactly what a creasing under-eye needs. Pressed on in a sheer veil, it holds concealer in place and skips the chalk. The caveats are really usage notes: pile it on or bake with it and it will look dry, which is the mistake this whole section is about, and the original translucent shade can flash white in photos on deep skin tones, so reach for the tinted version if that’s you.
What Our BEEs Say
The BEEs who quit baking are unanimous that their under-eyes look years fresher for it, less powdery and less lined by the afternoon. The trick they swear by now is pressing a barely-there amount of finely milled powder only where they crease, then stopping. Several have given up under-eye powder altogether since moving to a hydrating concealer, and say nothing budges as long as they keep the concealer itself sheer.
6. Rubbing It In Instead of Pressing It On
How you blend matters as much as what you blend. Dragging a finger or brush back and forth thins the concealer out unevenly, pulls at the most delicate skin on your face, and works the product into lines rather than over them. Gabi’s rule is blunt and worth stealing: “We never rub under the eyes. When we’re trying to build coverage, we always want to stipple.” Stippling just means pressing and dabbing, tapping the product down so it settles into the skin instead of being smeared across it.
A damp makeup sponge is the easiest way to do this. Bouncing it gently over the area sheers the concealer, presses it in, and lifts away anything extra, which is what keeps it from caking. A clean fingertip works too, since the warmth helps it melt in. Either way, the motion is press and roll, never swipe.

Real Techniques Miracle Complexion Sponge
Damp, for pressing concealer in rather than rubbing it around. The flat edge of this sponge is made for bouncing concealer into the under-eye, and at a few dollars for a multi-pack it’s the cheap tool that upgrades how everything sits. Run it under water and squeeze out the excess first, because a dry sponge drags and drinks up far more product than it should. Two practical notes: damp is non-negotiable for it to work, and sponges hold onto bacteria, so wash it often and replace it every couple of months.
7. Dragging the Face Down With Low Blush and Bronzer
This one isn’t concealer, but it undoes all the brightening you just did. After you’ve lifted and lightened the under-eye, sweeping a deep bronzer or a muddy blush low on the cheek, down near the apples or under the cheekbone, pulls the whole face downward and drags the darkness you just corrected right back into view. Gabi makes the point on camera that low, dull color visibly collapses the face. The fix is to place blush a touch higher, along the top of the cheekbone, and to reach for a fresher, brighter shade instead of a heavy bronze. Color placed up and out lifts the eye area, which is the whole reason you concealed it in the first place.
What Our BEEs Say
BEEs who moved their blush up onto the cheekbone describe an instant lift, the kind that makes people ask if they did something different. Swapping a brown-toned bronzer used as blush for a brighter, poppier shade gets the same credit. The consensus is that all the careful under-eye work is wasted if the cheek color sits too low, because it tugs the eye right back down.
Frequently Asked Questions
What is the best type of concealer for mature skin?
A hydrating, sheer-to-medium concealer with a radiant or natural finish, rather than a thick, matte, full-coverage one. Formulas built with hyaluronic acid or a creamy base move with the skin instead of cracking into lines as the day goes on. If you have darker pigmentation in one spot, look for something you can build in thin layers right there while keeping the rest sheer. The goal is the least amount of the lightest formula that still does the job.
Why does my concealer settle into fine lines?
Usually some combination of too much product, a formula that’s too heavy, dry skin underneath, and over-powdering. The under-eye moves constantly when you talk and smile, so the more product you stack on that movement, the faster it folds into creases. The fixes stack up too: prep with a light eye cream, use a hydrating concealer, apply a thin amount, press it in instead of rubbing, and set with the smallest possible touch of finely milled powder.
Do I really need a separate color corrector?
Only if your darkness is truly blue or purple-toned, which a lot of under-eye circles are. In that case a peach or orange corrector neutralizes the color first, so your concealer can look natural instead of grey. If your darkness is mild or more of a shadow than a true discoloration, you can usually skip it and go straight to a thin layer of concealer. When in doubt, try a little corrector on one eye and compare.
Should you set under-eye concealer with powder?
Lightly, if at all. A barely-there press of finely milled powder on the spot that tends to crease can keep concealer in place, but baking with a thick layer dries the area and emphasizes texture. If you’re using a hydrating concealer in a sheer amount, you may not need powder under the eyes at all. The test is simple: if your under-eye looks chalky or more lined after powder, you used too much.
Where exactly should you apply under-eye concealer?
For most people, the darkness is concentrated at the inner corner, so that’s where concealer does the most good. Smile in the mirror and notice the small area near the inner corner that barely moves, and concentrate the product there rather than sweeping it wall to wall. Brightening that spot opens up the eye, while loading the mobile outer area is what leads to creasing. Only extend coverage further if you really do have darkness all the way across.
How do you apply concealer so it doesn’t look cakey?
Use less than you think, on prepped skin, and press it in rather than rubbing. Start with a light eye cream, color correct only if you need to, apply a thin layer of a hydrating concealer to the inner corner, and stipple it in with a damp sponge or fingertip. Set just the crease-prone spot with a whisper of fine powder. Cakiness almost always traces back to too much product layered onto a moving, under-prepped area.
What Our BEEs Are Buzzing About
Here’s what the beauty community is saying about concealer for older skin:
Related Articles
- How to Do Eye Makeup Over 50
- The Best Affordable Makeup for Women Over 50
- The Best Foundations for Women Over 50
- 8 Natural Ways to De-Puff Your Face
Want to become a Beauty Empties Expert?
BEEs get free products to test, exclusive discount codes from our brand partners, and live access to The Hive sessions with dermatologists and beauty editors. Spots are limited and hand-picked.
We cross-checked every product against PETA’s Beauty Without Bunnies and the Leaping Bunny program before publishing. Where you see our cruelty-free mark on a product card, the brand is independently certified cruelty-free by PETA and/or Leaping Bunny. Brands without it may still be cruelty-free under their own policies; we only use the mark on the independently certified ones.