The Right Makeup Application Order (and Why Your Blush Keeps Disappearing by Lunch)
If your foundation is breaking down by lunch, your blush is gone by 3pm, and your concealer is sliding into your laugh lines, your products are probably fine. The order you applied everything in isn’t.
If you buy through our links, we may earn a small commission at no cost to you. As an Amazon Associate, we earn from qualifying purchases. Our policy
Makeup TikTok has spent the better part of three years arguing about the correct application sequence. Celebrity MUAs disagree with each other, the comments under every “do this first” video are a small civil war, and the answer most people land on is whatever their algorithm served them last. The actual answer is older (and less debatable) than any of that.
Makeup is a chemistry problem before it’s an aesthetic one. Each layer has a texture (water, oil, silicone, cream, powder) and those textures only bond if they go on in the right sequence. The sequence itself goes back almost a hundred years. Old Hollywood studio artists worked it out under hot lights in the 1930s, and the chemistry hasn’t changed since.
We went down the rabbit hole on how working makeup artists layer products, what beauty chemists say about why texture order matters, and where most at-home routines go off the rails. Some of it is the kind of thing you’d guess (cream before powder, every time), and some of it sounds wrong until you try it (a lot of pros now do eye makeup BEFORE foundation, including Lisa Eldridge and Mary Phillips). The gap between the two camps is the gap between makeup that’s still holding at hour eight and makeup that’s gone by lunch.
Here’s the order, the reasoning, and the products that show up in actual MUA kits.
The Buzz
The “cream before powder” rule isn’t a beauty editor invention. It traces back to the 1930s Hollywood studio system, where artists like Max Factor figured out that pancake makeup over cold cream stayed put under hot lights, while pancake under powder cracked. The chemistry hasn’t changed in nearly a century. Cream blends onto skin and dries into a sealed layer; powder on top locks it in.
Why the Order Actually Matters
Each layer of product on your face has a texture: water-based, oil-based, silicone-based, powder. A texture put on top of the wrong texture won’t bond, which is what’s happening when foundation pills off your nose at noon or your concealer pulls into a crease the second you smile.
The basic principle every working artist follows is thinnest, most liquid product first, with each layer that follows being slightly heavier or drier than the one underneath. Skincare (water) goes before sunscreen (lotion or fluid), which goes before primer (silicone or gel), which goes before foundation (cream or liquid), which goes before powder. Eyeshadow and blush slot in based on whether the formula is cream or powder.
That’s the underlying logic. The rest of the article is figuring out which product belongs at each step.
The Full Sequence, Step by Step
1. Skincare and SPF (and Let It Absorb)
Start with cleansed skin and your usual morning routine. Whatever you’d normally do (toner, serum, eye cream, moisturizer) goes first. The single thing most at-home routines get wrong here is the timing. You need to wait two to three minutes after your last skincare step before you start makeup, otherwise foundation pills, beads up, or refuses to blend. If you skip the wait, the rest of the routine fights you.
Most routines also skip SPF entirely, which is a bigger problem than skipping primer. SPF belongs after moisturizer and before primer, EVERY single morning, indoor day or not. (Yes, indoors too!) Skip it and you’re missing the only step in the whole routine that actually changes how skin looks ten years from now.
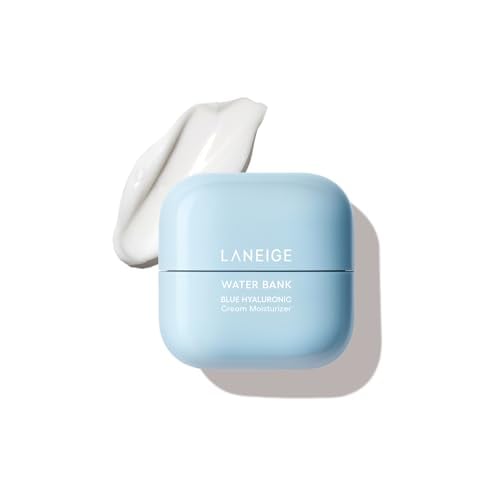
LANEIGE Water Bank Blue Hyaluronic Cream Moisturizer: Hydrating Korean Face Cream with Squalane & Ceramide for Skin Barrier Support, Dermatologist-Tested
The MUA-favorite makeup-prep moisturizer. Hyaluronic acid pulls water into the skin, the gel-cream texture absorbs in under a minute, and foundation glides over it instead of catching. Sephora reviews skew toward people praising how foundation finally sits flat on top, and the bottle shows up in a lot of celebrity MUA kit walk-through videos.
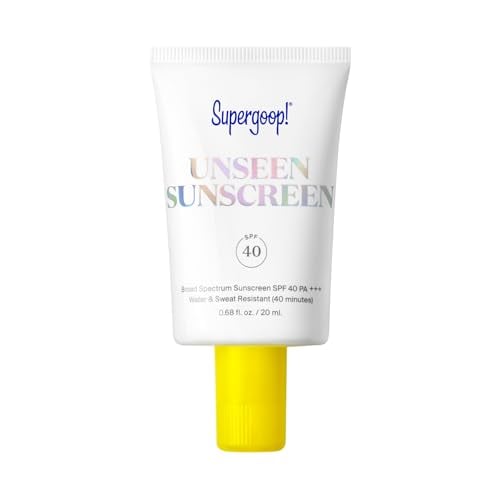
Supergoop! Unseen Sunscreen – SPF 40 – Clear & Invisible Face Sunscreen + Broad Spectrum + Makeup-Gripping Primer – Weightless, Scentless, Oil Free – For All Skin Types & Tones – 0.68 fl oz
The #1 pick for invisible SPF under makeup. The gel-to-clear finish doubles as a primer, so foundation grips it instead of sliding around. It’s invisible on every skin tone, and one of the only sunscreens we’ve never gotten tired of repurchasing. Certified cruelty-free (PETA).
2. Primer
Primer is technically optional. If your skin is smooth, hydrated, and your foundation already wears well, you can skip it without anyone noticing. If your skin has texture, larger pores, or runs oily by lunch, primer is what closes the gap between bare skin and foundation.
There are two kinds and they do different jobs. Grip primers are tacky and hold foundation in place all day. Blur primers are silicone-heavy and smooth out texture so foundation looks airbrushed. You can layer them (blur on the areas you want smoothed, grip everywhere else), or pick one based on what your skin needs more.
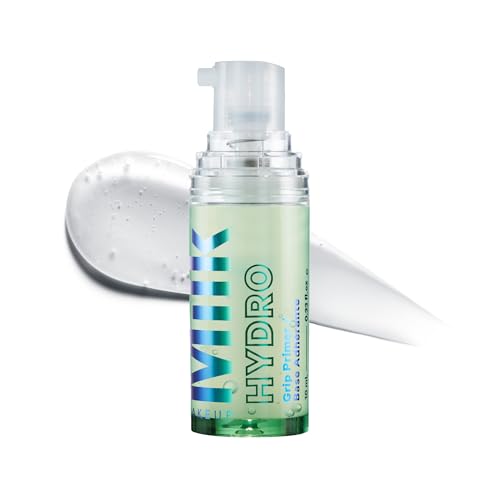
Milk Makeup Hydro Grip Primer with Hyaluronic Acid + Niacinamide – Hydrating Face Primer Grips Makeup for Up to 12 Hours – Silicone-Free, Lightweight Gel with Dewy Finish – 0.33 oz
The TikTok-anointed grip primer that doesn’t ball up. The base is hyaluronic acid plus a tacky niacinamide gel (Milk calls it Grip-Tech) that gives foundation something to bond to without the silicone-pilling problem most primers cause. Reviewers with oily and combo skin report the longest wear improvements. Certified cruelty-free (Leaping Bunny).
3. Color Corrector (Only If You Need It)
Most people skip this step and they’re fine. If you have stubborn redness, dark under-eye circles, or hyperpigmentation that foundation alone won’t cover, color correction does the heavy lifting so you don’t have to layer foundation on thick. Peach or salmon corrects blue-toned circles, green covers redness, and lavender cancels the yellow tones in sallow skin. Apply only where the discoloration is, then put foundation over the top.
If you don’t have a specific color you’re correcting for, this step adds product weight without payoff and can be skipped without consequence.
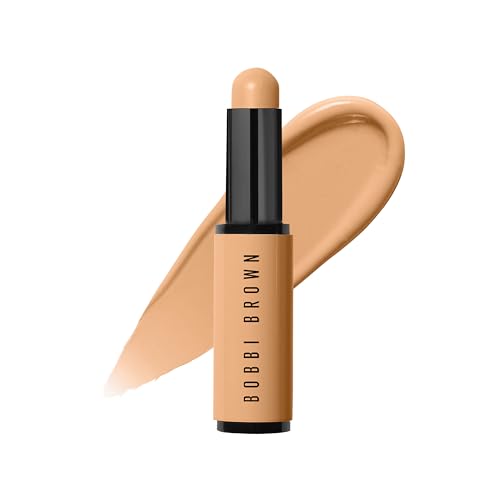
Bobbi Brown Skin Corrector Stick | Creamy & Buildable Color Corrector for Dark Circles & Face | 12-Hour Wear, 0.11 Ounce, Peach
The MUA-favorite color corrector for the under-eye area. Comes in peach and salmon shades that cancel blue undertones in dark circles, so concealer goes on lighter and brighter on top. The stick format makes spot application easy, no brush or fingertip warming required.
4. Foundation
Apply in thin layers, not one thick one. Build coverage where you actually need it (centerface, around the nose, anywhere you’re seeing redness or unevenness) and keep the perimeter sheer. The application principle is the same regardless of which foundation you’re using.
Tools matter more than people think. A damp sponge gives the most natural skin-like finish, a dense brush gives more coverage, and fingers warm the formula and melt it in for sheer wear. There’s no wrong answer, but pairing a full-coverage foundation with a sponge will give you medium coverage, while a sheer foundation buffed in with a brush will give you slightly more.
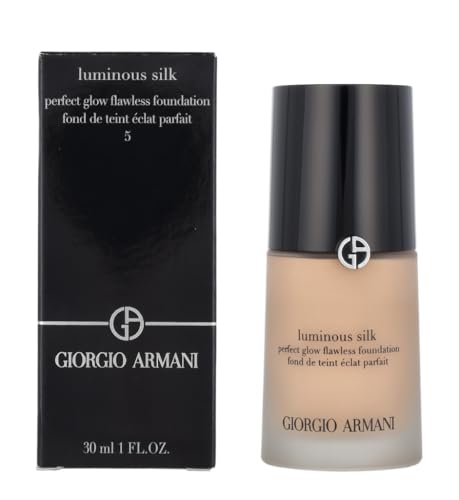
GIORGIO ARMANI Luminous Silk Foundation, 5 Medium Neutral
A red-carpet kit standard for over twenty years, and one of the reasons most clean-girl makeup looks photograph the way they do. The coverage is medium and buildable with a satin finish, and it sits on skin like a second layer instead of sitting on top of it. It’s pricey, but a single bottle lasts most people six to nine months.
5. Concealer
There are two schools of thought here. The traditional order is concealer after foundation: foundation evens out the whole face first, then concealer spot-corrects the parts foundation didn’t fix. Modern artists like Mary Phillips (Hailey Bieber’s makeup artist) popularized the V-shape under-eye technique that follows the same logic, where foundation goes first, and then concealer is drawn in a downward V from the inner corner and blended out.
Some artists still apply concealer before foundation when they want maximum brightness and minimum product weight. Both approaches are valid, and foundation-then-concealer is the more common modern default.
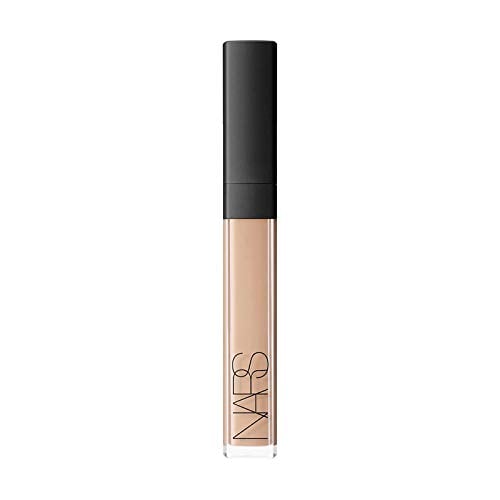
NARS Radiant Creamy Concealer, Vanilla, 0.22 Ounce
The #1 pick for the V-shape under-eye technique. The creamy-but-pigmented texture is the reason this concealer has been a kit standard since 2013. It brightens without going chalky, blends with a fingertip or a sponge, and doesn’t crease into fine lines if you set it lightly. It comes in 30 shades.
6. Cream Products: Bronzer, Contour, Blush
Cream comes before powder. ALWAYS. It’s the single most important rule in makeup application order, and the one most at-home routines slip on. (I spent years confused about why my blush kept disappearing within an hour. Turned out the powder was sitting underneath the whole time, LOL.)
Cream bronzer, cream contour, cream blush, and cream highlighter all go on bare or barely-foundation-covered skin so they melt in and look like they’re coming from the skin instead of sitting on top. Within the cream step, the order goes contour first (placed under cheekbones, along the jaw, sides of the nose if you do that), then blush on the apples, then cream highlighter on the high points if you’re using one.
If you’re skipping cream products entirely and using only powder versions, fine. The order shifts to foundation, concealer, powder, and then powder bronzer/blush/highlighter on top. Just don’t mix the order by putting powder before cream. That’s where the cakey result comes from.
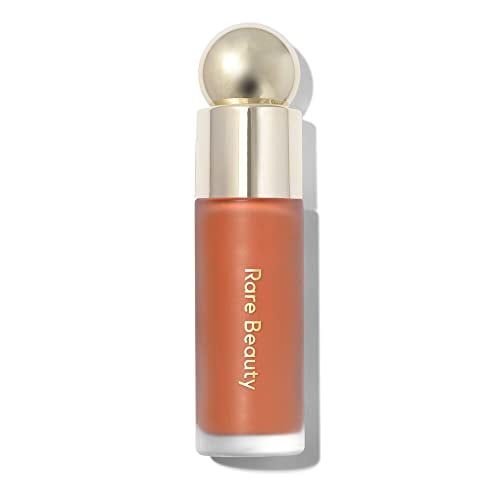
Rare Beauty by Selena Gomez Soft Pinch Liquid Blush Joy
The liquid blush that ate the entire blush category. It’s highly pigmented (a single dot per cheek is plenty), blends invisibly into skin, and photographs the way an actual blood-flush does. It comes in matte and dewy formulas, and the tiny applicator means a $25 bottle outlasts most $50 cream blushes. Certified cruelty-free (PETA).
7. Setting Powder
Powder goes after every cream product on your face and before every powder product. Powder before foundation gives you nothing to set, and powder under cream blush makes the blush sit on top of a chalky layer instead of melting into the skin. This is the most common ordering mistake we see, and the one that creates the cakey finish almost everyone is trying to avoid.
Apply translucent setting powder anywhere you want longevity (T-zone, under the eyes if you’ve used concealer, anywhere creases tend to form), and skip the rest of the face if you want a glow finish. If you’re an oilier skin type or you live somewhere humid, you can powder the whole face and then come back with setting spray at the end to take down any flatness.
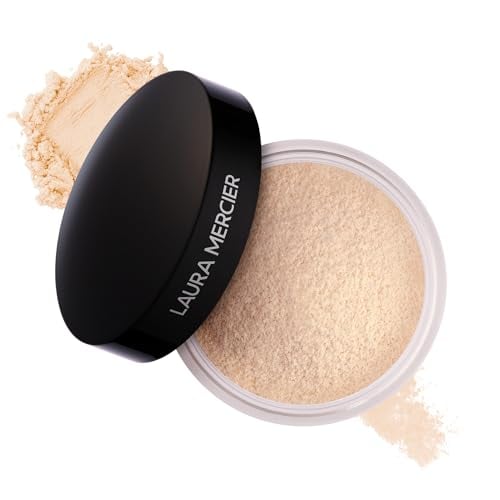
Laura Mercier Translucent Loose Setting Powder, Fair to Medium Skin Tones, Translucent
The industry-standard setting powder, and the one most artists keep in their kit even when they’re using something pricier on top. It doesn’t flash white in photos, doesn’t oxidize, and doesn’t add color. It just locks foundation and concealer in place and stays put through humidity.
8. Powder Bronzer, Blush, Highlighter
Powder bronzer, blush, and highlighter layer on top of the cream versions for staying power, or replace creams entirely if you skipped that step. Order goes the same as the cream step: bronzer or contour first, then blush, then highlighter.
Layering a powder blush over a cream blush gives the longest-wearing, most three-dimensional flush. Most working artists do this on long-wear days.
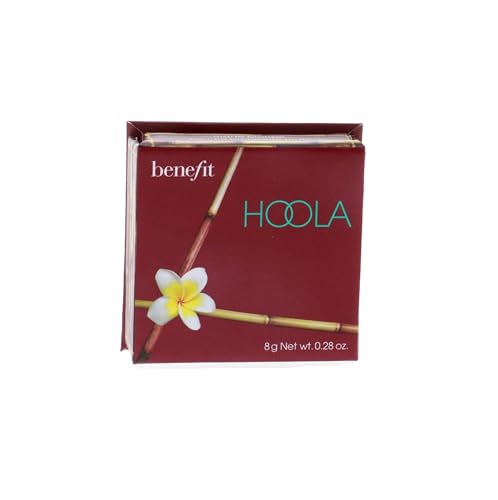
Benefit Cosmetics Hoola Bronzer Hoola
The bronzer in nearly every MUA kit for over fifteen years. The matte formula reads as actual shadow, not orange, which is what makes it work as a contour as well as a bronzer. One palette lasts most people six months minimum.
9. Brows
Brow product goes on after powder so you have a smooth, set surface for the pencil or pomade to grip. If you do brows before powder, the powder pass takes the brow product down with it.
A pencil and a clear or tinted gel are usually enough. Pomades and stamps are great if your brows are very sparse, but most people don’t need that level of construction.
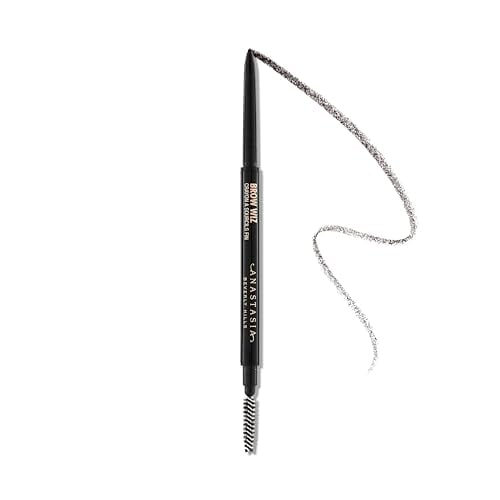
Anastasia Beverly Hills – Brow Wiz – Dark Brown
The pencil that built a brow brand. The ultra-fine retractable tip draws individual hair strokes that look like real brow hair, and the spoolie on the other end blends everything together. A kit standard since 2014 and still the one most artists reach for. Certified cruelty-free (PETA).
10. Eye Makeup (Or First, Depending on Which School You Follow)
This is the biggest debate in modern makeup application order, and most at-home routines never address it.
The traditional order has eye makeup going after foundation and concealer, with the rest of the face. You apply foundation, do the eyes, and any eyeshadow fallout gets cleaned up after the fact.
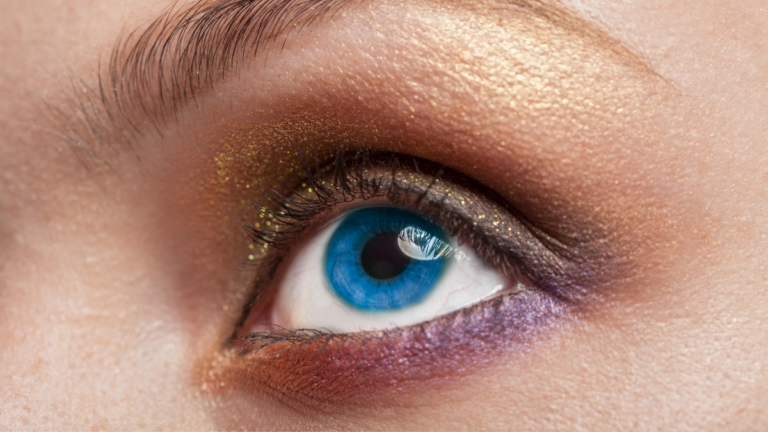
The more modern approach is to do eye makeup FIRST, before foundation. Working artists like Lisa Eldridge (Lancôme’s global creative director) and Mary Phillips have been pushing this for years, and the reasoning is twofold. Heavy eyeshadow fallout drops onto bare skin, where it can be wiped away cleanly, instead of onto foundation, where wiping it pulls foundation off too. Applying foundation last also means concealer under the eye can clean up any remaining smudges in one motion.
Pick based on your eyeshadow situation. If you wear barely-there shadow or skip it entirely, the traditional order is faster and works just as well. If you wear pigmented or shimmery shadow, do eyes first.
Within the eye step itself, the sequence is shadow primer, then eyeshadow (transition shade, lid shade, deepening shade, inner-corner highlight), then eyeliner, then mascara. If you wear false lashes, apply them after top-lash mascara and before bottom-lash mascara.
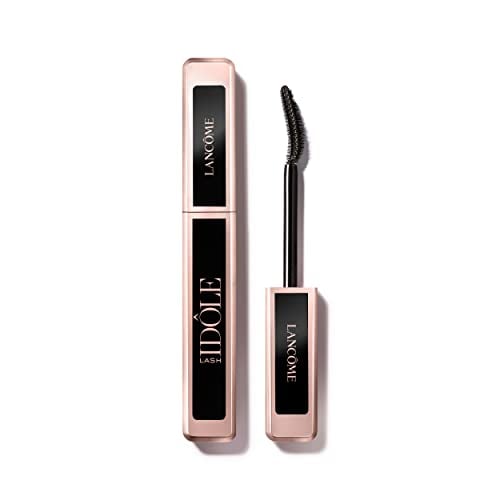
Lancôme Lash Idôle Lash-Lifting & Volumizing Mascara – Black Mascara for Instant Volume, Length & Lift – Smudge Proof & Up To 24H Wear – Black
Lancome’s editorial mascara, in beauty editor kits since the early 2020s. The flexible bristle wand grabs every lash without clumping, the formula builds without flaking, and it comes off cleanly with regular cleanser. Editorial finish, no falsies required.
11. Lips
Always line your lips before applying lipstick. If your lips are dry, prep with balm before everything else (right at the moisturizer step), and wipe off any residue before lining so the liner has dry lip to grip.
Lining the entire lip (not just the outline) and then layering lipstick on top makes color last almost twice as long. Most pros do this even if they’re going for a sheer “your lips but better” finish.
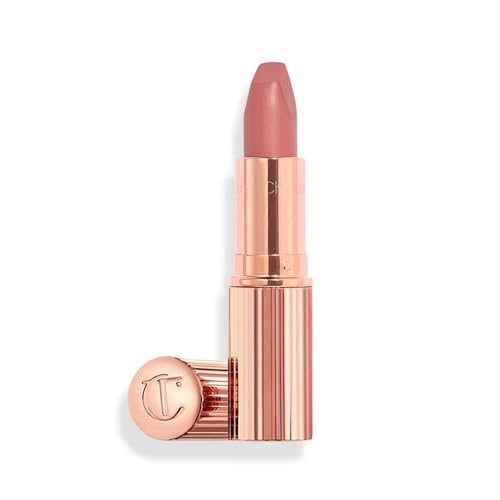
Charlotte Tilbury Matte Revolution Lipstick – Long Lasting, Matte Lipstick with Buildable Color & Lip-Loving Ingredients – Creamy, Easy to Blend Formula – Pillow Talk Original
The pinky-nude lipstick that defined the ‘your lips but better’ look in the late 2010s and never left. The Matte Revolution formula is moisturizing enough for daily wear, the shade flatters most undertones, and the bullet’s angled tip lines lips precisely without a separate liner. Comes in original, medium, and intense for different lip-tone matches.
12. Setting Spray
Setting spray is the final step. It locks everything in place, but more importantly, it melts powder into skin so the finish doesn’t look powdery in photos. Hold the bottle six inches from your face, mist in a T or X pattern, and let it air-dry. Don’t pat it in.
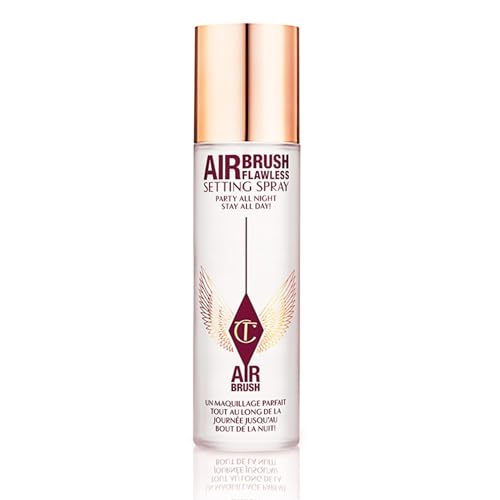
Charlotte Tilbury Airbrush Flawless Setting Spray – Ultra-Fine Hydrating Mist to Prime & Set Face Makeup For Up to 16Hr – Soothes, Blurs Pores & Calms Skin (100ml)
The setting spray that genuinely changes the finish of whatever foundation you used. The fine mist plus the hyaluronic acid and vitamin C in the base add a soft-focus blur that makes makeup look like it was applied by someone else. It holds up through eight-hour wear and humidity.
Where the Order Tends to Fall Apart
A few patterns show up in almost every at-home routine that isn’t holding the way it should.
Skipping SPF is the most common one. Most morning routines jump straight from moisturizer to primer, but SPF has to go between them, every single day, indoor or outdoor. It’s the only step in the whole routine that genuinely changes how skin looks ten years from now, and there’s no other step in the routine that can make up for missing it.
The next one is putting powder before cream. Powder anywhere underneath a cream product gives the chalky finish almost nobody is trying to get. The fix is to keep every cream formula on your face (bronzer, contour, blush, highlighter) on the bottom of the makeup pile, then powder seals it, then any powder bronzer or blush goes on top.
Then there’s highlighter, which gets treated like a single step in most order guides. Cream highlighter and powder highlighter actually live in different places in the routine. Cream highlighter belongs with the other creams, before powder. Powder highlighter belongs with the other powders, after the powder bronzer and blush.
If you only change one step in your current routine, make it the SPF one. Everything else is fine-tuning by comparison.
A cruelty-free mark means the brand is certified by PETA, Leaping Bunny, or both at the time of writing. A missing mark doesn’t mean a brand tests on animals; it just means the brand isn’t certified by these programs.
What Our BEEs Are Buzzing About
Here’s the beauty community demonstrating the application order in action:
Want to become a Beauty Empties Expert?
BEEs get free products to test, exclusive discount codes from our brand partners, and live access to The Hive sessions with dermatologists and beauty editors. Spots are limited and hand-picked.
Related Articles
- Makeup Artists Swear By This Trick for Perfect Eye Makeup Over 50
- Every Product Hailey Bieber Wore at Coachella 2026 (And How to Recreate the Glow)
- Makeup Mistakes to Avoid After 60 (and What to Do Instead)
- 15 Best Affordable Makeup Products for Women Over 50 That Actually Work
- 10 Makeup Tweaks That Quietly Change Your Whole Face
- How to Layer Your Skincare, Morning and Night