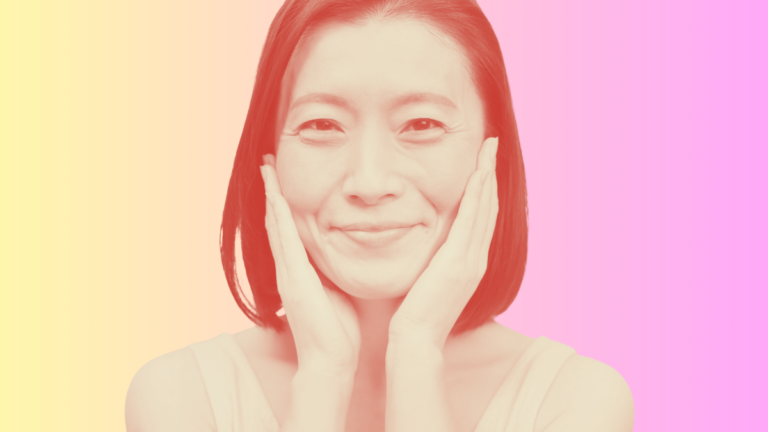
Makeup Artists Swear By This Trick for Perfect Eye Makeup Over 50
If you’ve watched a celebrity makeup artist do a 50+ face on YouTube in the last five years, you’ve seen this trick whether you registered it or not. The artist sets up the model, picks up a brush, and then does something a little odd. Instead of having the model close her eyes, she has her keep them open and look straight into a mirror tilted up from her chin. The shadow goes on with the eye open.
If you buy through our links, we may earn a small commission at no cost to you. As an Amazon Associate, we earn from qualifying purchases. Our policy
That single adjustment is the one a roster of celebrity makeup artists have all gone on record about as the difference between eye makeup that vanishes the second a 55-year-old woman opens her eyes and eye makeup that actually shows up where she meant to put it. Lisa Eldridge (Lancôme’s global creative director), Sandy Linter (Christie Brinkley’s longtime makeup artist), Pati Dubroff (the artist behind Margot Robbie’s Barbie press tour and a regular for Gwyneth Paltrow), and Mary Phillips (Hailey Bieber’s makeup artist, the person who popularized underpainting on TikTok) all teach the same approach. It is, by a wide margin, the most repeated piece of advice in pro makeup tutorials aimed at women past 45.
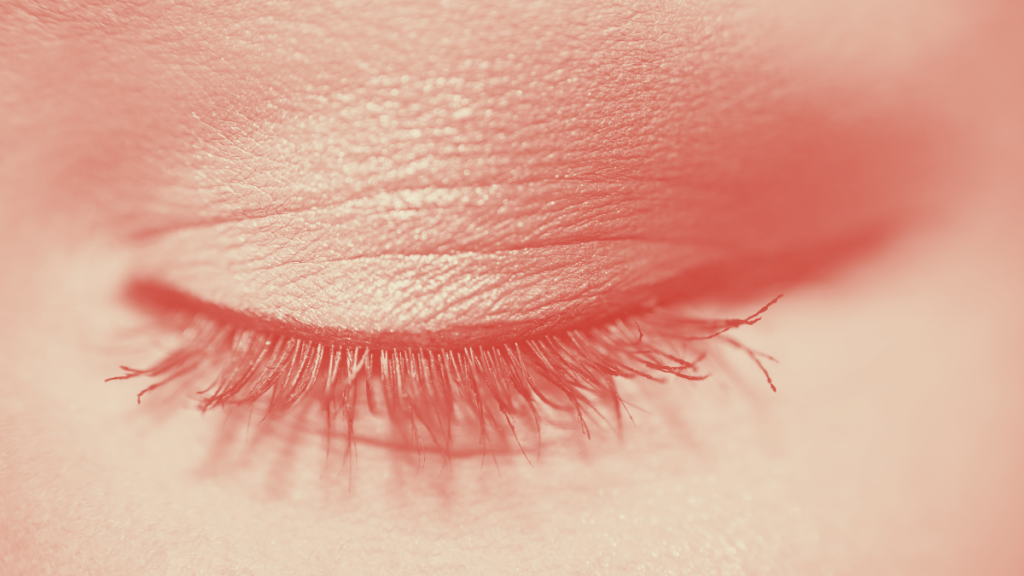
The lid you see when your eye is closed is not the same lid the world sees when your eye is open. After 40 or 45, that difference between the closed-lid view and the open-lid view gets bigger for most people, so shadow placed on the closed lid disappears the second you open your eye. Shadow placed while your eye is open stays exactly where you put it.
The technique is a simple mirror angle, not a new product purchase (hooray for that!), and it works on every eye shape.
The Buzz
The “eyes open, mirror at chin level” technique didn’t start with Lisa Eldridge, but her Smokey Look for Hooded/Mature Eyes tutorial codified it for home users. She posted it in November 2012, and it has racked up millions of views since. Sandy Linter, who has done Christie Brinkley’s makeup for decades, has used a version of it across her career.
The Trick, Step by Step
The setup is simple. You want a hand mirror flat on a table or vanity, or a small standing mirror leaned so the glass sits roughly at the level of your collarbone. Your eyes stay open and relaxed, looking down into the mirror, while the brush comes in from above. The view in the mirror should show your full lid the way it actually sits when your face is at rest, not the stretched-out crease shape that only appears when you tilt your chin up and close your eyes.
With shadow on your brush, you look down into the mirror and place the color where you want it to read once your eye is open. That placement is higher than you think. On a hooded lid, the color often needs to go well above the natural crease, blending up toward the brow bone. On a non-hooded lid, the placement is still a few millimeters higher than where the color would sit if your eye were closed.
While you blend, your eye opens and closes a few times so you can watch the color move. You’ll see in real time where the color sits when your eye is open versus where it ends up when you blink. Your target is the open-eye view, because that’s the one anyone else is ever going to see.
The whole process takes maybe a minute longer than the closed-eye version you may be used to. Once your hand learns it, the time difference disappears.
Why This Works So Well on Lived-In Eyes
The eyelid skin is the thinnest on the body to start with, and it loses elasticity faster than most facial skin once you get past 30. The orbital structure underneath shifts too. The brow bone settles a touch lower, the upper lid develops a slight hood for most people, and the surface you see when your eye is at rest becomes visibly different from the surface that shows up when you close it and stretch the skin flat. Shadow placed on the stretched-flat version disappears into the new fold the second your eye opens, and that’s the application problem pros figured out decades ago.
Pro makeup artists figured this out in studios decades ago because they were doing makeup on women in their 40s, 50s, 60s, and 70s for editorial shoots and red carpets, and the closed-eye method kept producing shadow that read perfectly in the mirror and disappeared the second the model looked at the camera. Working open-eyed solved it. The technique just took a while to migrate from professional kits to YouTube.
There are two related habits the same artists swear by, and they amplify the eyes-open placement. The first is using cream shadow as a base, either on its own or under powder. Cream stays put on a lid that’s a little drier or a little less smooth than it used to be. Powder alone can break up across the surface or settle into the lines you see when you smile. The second is keeping shimmer on the center of the lid only and using matte everywhere else, particularly in the crease. Shimmer in the crease draws light to texture, which is the opposite of what you want. Matte in the crease and shimmer on the moving part of the lid keeps the eye looking lit from inside.
The Color Half: Why Pros Reach for Warm, Not Cool
The second thing those same artists do, almost without exception, is reach for warm tones (soft pinks, peaches, rose-gold, warm taupe, bronze) rather than cool ones. They skip the gray-toned smoky shadows that dominated 2010s eye makeup, and they skip the cool blues and silvers that read harsh against most skin past 40.
Skin tone shifts a touch cooler over time as natural warmth in the cheeks softens and any redness becomes more visible at the surface. Warm shadow tones bring warmth back. They also sit opposite red on the color wheel, which is the optical reason warm shadow makes the whites of the eyes look brighter and the eye area look more rested. Cool gray and silver against the same skin tone can read as flat or tired even when the application is perfect.
The most repeated version of this in pro tutorials is Mary Phillips’ monochromatic eye (one warm shade across the entire lid, no contrast colors), where she takes a warm cream face product such as bronzer or blush across the lid as the only eye color, blends it into the crease, and adds mascara. The whole eye look is done in 30 seconds. Pati Dubroff is also known for cream-on-lid eye looks, layering a warm cream shadow over the lid with a soft matte in the crease. Either way, you pick something warm, keep it simple, and skip the gray and charcoal palette unless you’re specifically going for a smoky evening look.
Soft peachy pink eyeshadow on the lid is one of Bobbi Brown’s most-repeated recommendations for women over 50 (Brown is the celebrity makeup artist who founded the eponymous cosmetics brand in 1991 and now runs Jones Road), and it earns its reputation. It brightens the eye area in a way no neutral can, and it makes tired eyes look genuinely rested in a way concealer alone cannot. The catch is the temperature. A warm rose-gold or peachy pink reads fresh, but a cool baby pink reads juvenile or sickly on most skin.
What You Actually Need
You don’t need a 30-piece kit to make this work. The eyes-open technique is the foundation, and these are the few products that make it work.
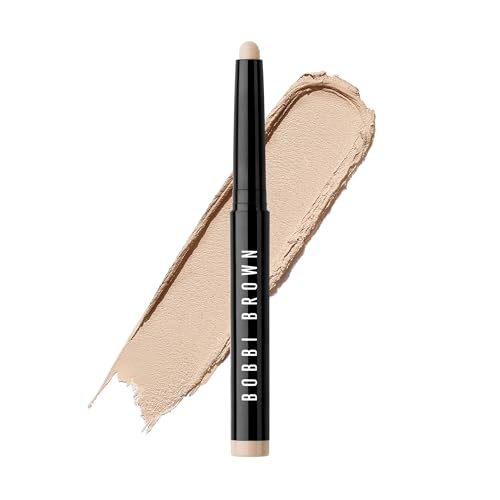
Bobbi Brown Long-Wear Cream Shadow Stick
The cream shadow stick beauty editors have recommended for over-40 lids for almost a decade. It glides on, blends with a finger, and sets to a soft semi-matte that doesn’t crease. Pink Sparkle is the warm peachy pink Bobbi Brown herself recommends for mature lids. Bronze is the foolproof one-and-done shade if pink feels too soft.
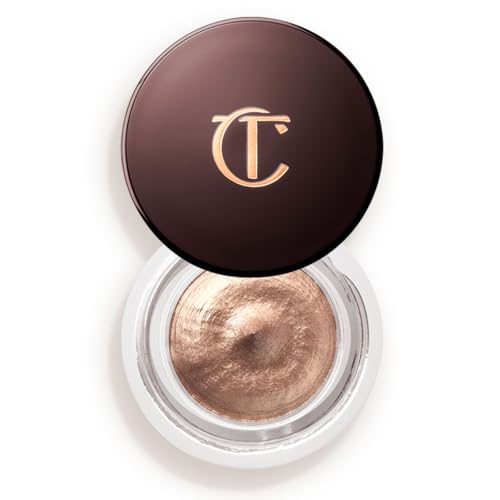
Charlotte Tilbury Eyes to Mesmerise Cream Eyeshadow Pot
A cream pot rather than a stick, slightly more pigment-dense, and the formula sets fast enough that it can also work as a base under powder if you want to layer. Bette is the warm champagne-rose shade pros reach for most on mature lids. It reads warm without going orange and works on every skin tone from very fair to deep.
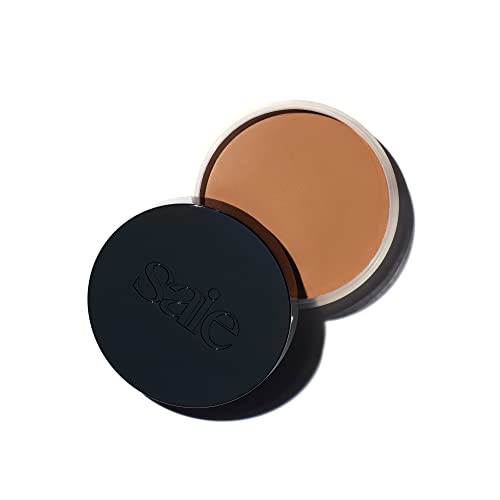
Saie Sun Melt Natural Cream Bronzer
The Mary Phillips trick: use your warm cream bronzer as your eyeshadow. Take it across the lid with a soft fluffy brush, drop a touch into the crease, and you’re done. Saie Sun Melt is the cream bronzer makeup artists keep reaching for because the formula blends seamlessly on both cheeks and lids, and the shade range covers fair to deep skin tones without going muddy.
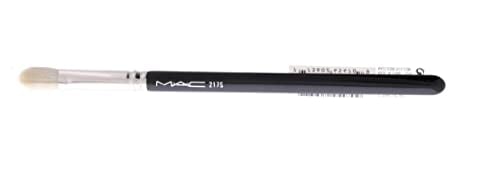
MAC 217S Blending Brush
The single brush most makeup artists name when asked which one they’d keep if they had to throw out the rest. It’s soft and fluffy, holds powder well, and doesn’t deposit too much in any one spot, which matters when you’re applying with your eyes open and adjusting on the fly.
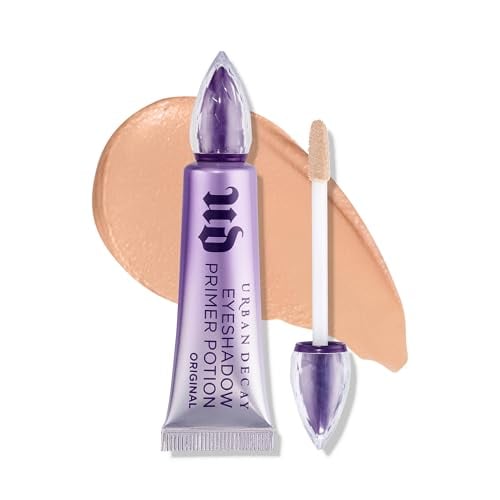
Urban Decay Eyeshadow Primer Potion
Worth the spend if your shadow has been creasing or migrating by 3pm. It goes on clear, dries in seconds, and gives both cream and powder shadow something to grip. The original formula has been a backstage staple for a generation of makeup artists for a reason. Certified cruelty-free (PETA).
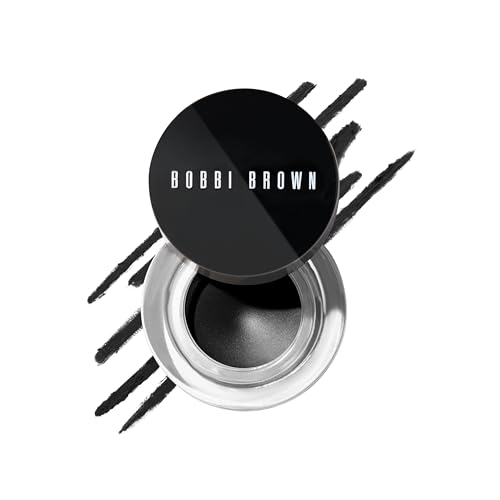
Bobbi Brown Long-Wear Gel Eyeliner
Tightlining (running liner along the upper waterline, between the lashes themselves rather than above them) is the second-most-cited MUA trick after the eyes-open technique. This formula stays put and goes on with a small angled brush. It adds density to the lash line without reading as a heavy liner look.
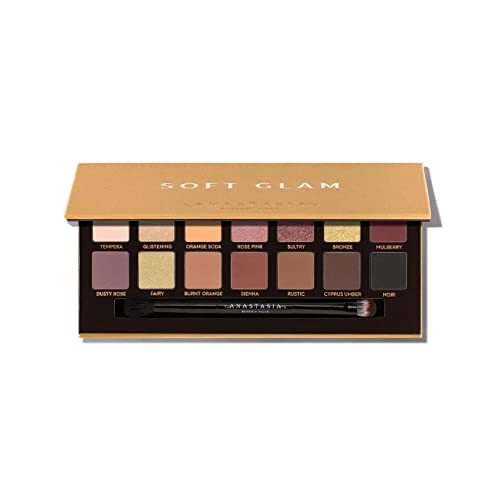
Anastasia Beverly Hills Soft Glam Eyeshadow Palette
A palette that gets called out specifically for being matte-heavy with one or two shimmers, which matches exactly how pros build mature eye looks. The shade names sound trendy, but the actual formulation is closer to a classic neutral kit. Certified cruelty-free (PETA).
The Half-Tricks the Pros Stack On Top
The eyes-open placement is the trick. Once you’ve got that, the same artists do a handful of small things on every face, and they’re the difference between fine and finished.
Tightlining the upper lash line beats lining the lower one. Liner along the upper waterline reads as thicker, fuller lashes rather than as a liner. Liner under the lower lashes can drag the eye downward, which is the opposite of what most people want. If you want definition under the eye, smudge a soft brown or taupe shadow into the lower lash line with a small brush instead of using a pencil.
The outer corner needs a slight lift. When you blend shadow at the outer edge of the lid, take it slightly up toward the tail of the brow rather than straight out toward the temple. The lift is small and you don’t need a sharp wing for it to register. It just stops the eye shape from reading as if it’s pulling downward.
A heated curler earns its place before mascara. A heated lash curler used for ten seconds before mascara opens up the eye more than another coat ever will. The Surratt and Shiseido versions are the ones MUAs name most often, but a regular Tweezerman lash curler also works if you press for longer.
Setting powder under the eye should be the lightest one you own. Heavy powder under the eye settles into lines and reads chalky. A near-translucent setting powder pressed in with a small brush, only on the inner corner where concealer tends to crease, is the move. The rest of the under-eye area can stay un-set.
How to Do the Whole Eye in Five Minutes
The full sequence runs about five minutes. The lid gets primed with eye primer or a cream shadow base. The cream shadow or powder goes on next, with your eyes open and a chin-level mirror in view. The blend extends up toward the brow bone, not just along the natural crease. A gel liner runs along the upper waterline. The lashes get a ten-second curl. Mascara goes on in one coat, two if you want more. The lower liner gets skipped. The whole thing reads more pulled-together than 20 minutes of layered shadow with the closed-eye method.
A cruelty-free mark means the brand is certified by PETA, Leaping Bunny, or both at the time of writing. A missing mark doesn’t mean a brand tests on animals; it just means the brand isn’t certified by these programs.
What Our BEEs Are Buzzing About
Here’s the beauty community demonstrating these techniques in action:
Want to become a Beauty Empties Expert?
BEEs get free products to test, exclusive discount codes from our brand partners, and live access to The Hive sessions with dermatologists and beauty editors. Spots are limited and hand-picked.
Related Articles
- 10 Common Beauty Habits That CAN Work Against Women Over 50 (and the Simple Swaps That Actually Help)
- Makeup Mistakes to Avoid After 60 (and What to Do Instead)
- 15 Best Affordable Makeup Products for Women Over 50 That Actually Work
- 6 Eye Creams That Made a Skeptic a Believer
- Stop Doing Your Makeup Like This After 50 (It’s Aging You Fast)
- The Best Moisturizers for Crepey Skin, According to Dermatologists