10 Makeup Tweaks That Quietly Change Your Whole Face
When your makeup looks off and you can’t figure out why, the instinct is to blame the product. Different foundation, new mascara, a blush in a better shade. And look, we’re a beauty site, so we’re not going to pretend new products aren’t fun. But honestly? Most of the time the formula isn’t the problem. The application is. And changing how you apply something is free. These are the makeup tweaks that actually move the needle.
If you buy through our links, we may earn a small commission at no cost to you. As an Amazon Associate, we earn from qualifying purchases. Our policy
These are the ones you pick up from watching a makeup artist and going “wait — why does she do it that way?” Some of them will feel wrong at first. Do them anyway.
1. Curl Your Lashes Before Mascara, Not After
The Tweak
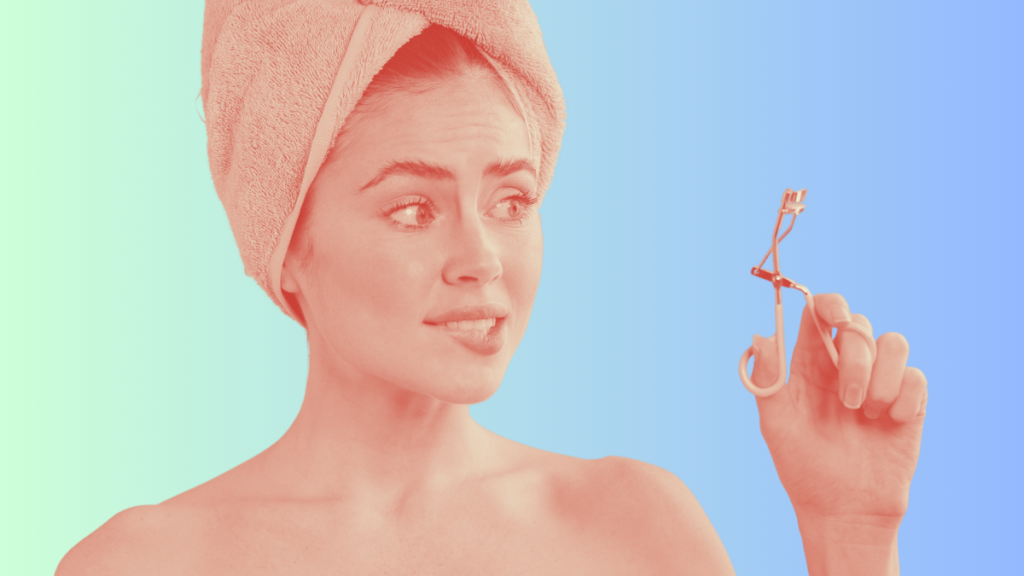
Always curl on bare, dry lashes. Never after mascara is already on.
Why It Works
Dry mascara makes lashes brittle. Curling after application risks snapping them off entirely and creates clumping instead of lift.
You’d be surprised how many people curl after they put on mascara, not before. The problem is that doing it that way doesn’t just clump. The dried product acts like glue between the curler pad and your lash, which can cause your lashes to come off with it. If you’ve been losing more than seems normal, that’s likely why.
Start at the base (as close to the lid as you can get without pinching yourself), hold for five to seven seconds, move the curler up to the middle and hold again, then to the tips. Moving up in stages gives you a gradual curve instead of a sharp 90-degree kink at the root, which is very much not the look. For extra staying power, warm the curler briefly with a hair dryer before using. It works on the same principle as heat-styling hair. Test the temperature on your wrist first, because obviously.
If the curl still drops through the day, look for a mascara specifically formulated for curl or lift. These contain polymers that wrap each lash and hold the shape once dry, rather than just coating them.
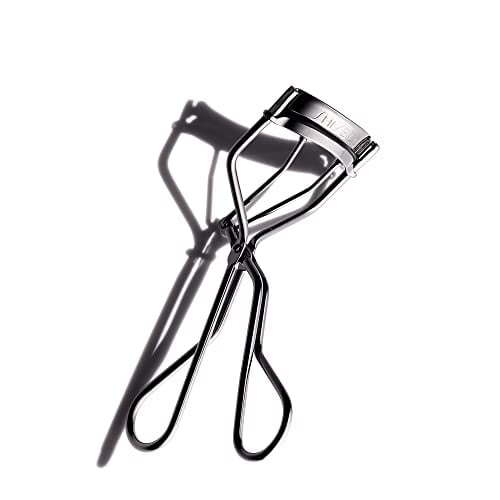
Shiseido Eyelash Curler
The #1 pick for lash curling. The cult-classic curler makeup artists name when asked. The wide pad and gentle pressure crimps the lash without snapping it.
2. Apply Lip Liner After Balm, Not Before
The Tweak
Apply a thin layer of balm first, blot the excess with a tissue, then line. The liner glides instead of drags.
Why It Works
Dry lips make liner catch and skip, which is what gives you those harsh, uneven lines that no amount of smudging seems to fix.
If your lip liner always looks harsh or uneven no matter how carefully you draw it, dry lips are almost certainly why. Apply balm, give it a minute, then press a tissue against your lips to lift the slippery top layer. What’s left is enough for the liner to glide on without everything sliding around by lunchtime.
When lining, start at the Cupid’s bow with an X shape at the two highest peaks before drawing out to the corners. It locks in the symmetry from the center rather than trying to match two sides working independently, which never quite works. Short strokes throughout, not one long drag. You get more control on the curves and small mistakes are easier to catch early.
For a fuller lip: overline slightly in the center only, upper and lower, and keep the outer corners on your natural lip line. Overlining the corners is what tips it into clown territory. Keeping them in is what keeps it looking like your actual mouth, just a better version of it.
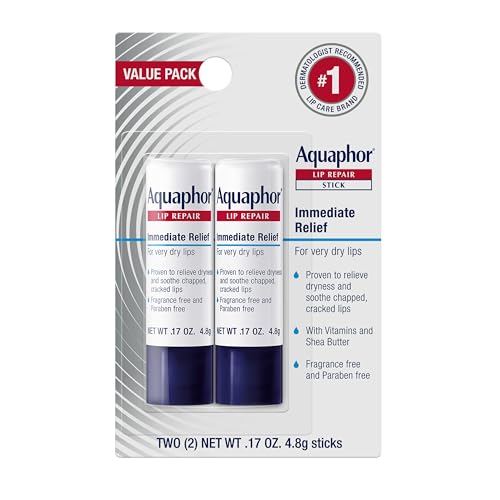
Aquaphor Lip Repair Stick
The #1 pick for lip liner. Dermatologist-recommended healing balm that softens dry, chapped lips so liner glides on without dragging or skipping. The thick, occlusive formula is also what beauty editors use as a slick gloss topper over matte lipstick when they want the glazed-lip finish.
3. Brush Brows Upward, Not Sideways
The Tweak
Brush all brow hairs straight up with a spoolie before filling in. Set them upward with a clear or tinted brow gel.
Why It Works
Upward brows open the eye area and lift the face. Sideways brows create a flat arch that makes eyes look smaller and heavier.
Most of us brush our brows sideways because that’s the direction the hair grows, and nobody told us not to. Brushing straight up instead gives you noticeably more height at the front, more lift through the arch, and a fresher overall look without touching a single product. It’s the free, no-appointment version of brow lamination, and once you see the difference it’s genuinely hard to go back. It also shows you exactly where the brow is actually sparse, which means you’ll use less filler and get a more natural result.
Fill in sparse spots with light feathery strokes that follow the direction of actual hair growth. Avoid drawing solid horizontal lines across the brow — they never look like real hair, no matter how blended they are. Blend with your spoolie, then lock everything upward with a clear or tinted brow gel. Without the gel the hairs fall back to their natural position within an hour. For particularly stubborn brows, a strong-hold soap or pomade brushed upward before the gel keeps them in place longer.
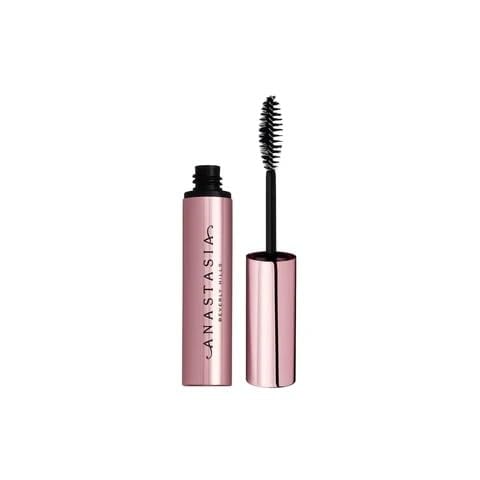
Anastasia Beverly Hills Clear Brow Gel
The #1 pick for fluffy lifted brows. The cult clear gel that fluffs brows up and locks them in place. No flaking, no crunch, lasts through sweat and a long day. Certified cruelty-free (PETA).
4. Move Your Blush Higher Than You Think
The Tweak
Instead of the “apples” of your cheeks, sweep blush higher, toward the temples, and blend upward, never downward.
Why It Works
Low blush placement pulls the eye downward and makes the face look heavy. High blush creates lifted cheekbones without any contouring.
The “smile and tap onto the apples” instruction is probably the first thing most of us were ever taught about blush application, and it’s also where a lot of blush goes wrong. The apples of the cheeks are the lowest, roundest part of the face when you smile. Color placed there adds width to the face, not definition, not lift. It’s one of those simple makeup tweaks with a massive payoff.
Skip the smile. Find the actual cheekbone (you can feel it under the skin) and sweep the blush upward and outward toward the temple. The color should nearly reach the hairline at its furthest point. Blend in an upward direction, always. Blending downward undoes everything.
A fluffy dome brush gives you a diffused, soft effect; a smaller tapered brush gives you more intensity and precision. Either works. The direction of the stroke is what actually changes the result, not the brush shape.
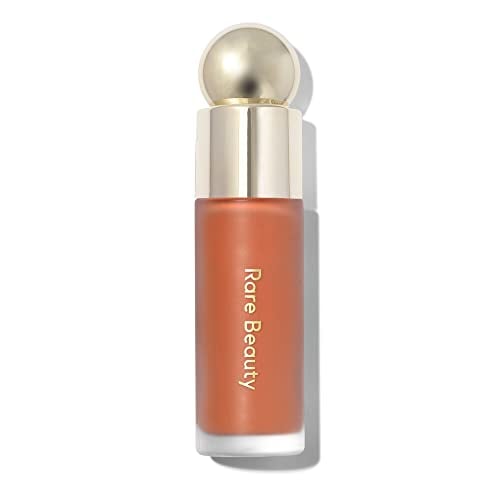
Rare Beauty Soft Pinch Liquid Blush
The #1 pick for the lifted-blush placement. The most-recommended cream-liquid blush for diffused, lifted color. A drop blends into a buildable wash that sits beautifully on cheekbones. Certified cruelty-free (PETA).
5. Line Your Waterline With Nude, Not Black
The Tweak
Swap black eyeliner on the lower waterline for a nude or white pencil.
Why It Works
Black on the lower waterline shrinks the eye. Nude or white erases the boundary between the eye and the whites, making eyes appear significantly larger and more awake.
If you’ve ever put on eye makeup and somehow ended up looking more tired than when you started, black liner on the lower waterline is usually the culprit. That inner rim tends to be reddish or slightly dark already, and black deepens it, closes the eye down, and makes you look genuinely exhausted. A nude pencil on the same spot neutralizes the redness and visually extends the white of the eye downward. It doesn’t read as a makeup trick. It just reads as a good night’s sleep you may or may not have had.
Pure white can look stark on warmer or deeper skin tones. A warm nude, peachy beige, or soft ivory reads more naturally across a wider range of complexions. Look for a formula specifically designed for the waterline: creamy enough to glide without tugging, pigmented enough to actually show up, and ideally waterproof so it lasts more than an hour in that area.
If dark liner is non-negotiable for your look, tightline the upper waterline instead. It adds density to the lash line without closing the eye down.
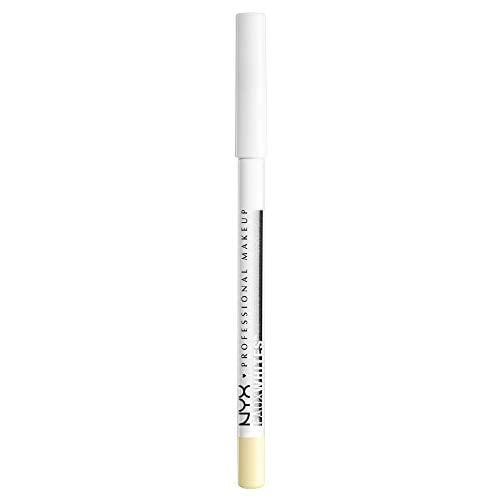
NYX Faux Whites Eye Brightener Pencil
The #1 pick for the nude waterline. The drugstore pencil makeup artists keep recommending. Brightens the eye instantly without the harshness of white liner. Certified cruelty-free (PETA).
6. Put Highlighter in Your Inner Corners and on Your Cupid’s Bow
The Tweak
Dab a small amount of shimmer at the inner corner of each eye and at the peaks of your Cupid’s bow.
Why It Works
Light at the inner corners opens and brightens the eye. Light at the Cupid’s bow adds lip dimension without overlining.
You know that brightness in the inner corner of someone’s eye that makes them look awake and a little lit from within? That’s almost always a small press of shimmer right at the tear duct. A fingertip of champagne or pearl-toned shadow is all it takes. Going heavier doesn’t improve it; it just makes you look like you went to a rave.
On the Cupid’s bow, the same product at the two peaks of the upper lip catches light and makes the lip look more dimensional and subtly fuller, with no overlining required. Apply after your lip color is on, with a small brush or your fingertip. A swipe of clear gloss over the center of the lip amplifies it nicely.
For both spots: finely milled satin or pearl finish, not chunky glitter. You want brightness, not a craft project.
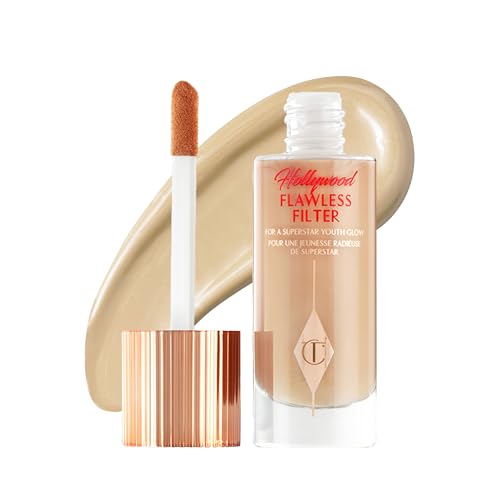
Charlotte Tilbury Hollywood Flawless Filter
The #1 pick for inner-corner highlight. A finely-milled satin glow that works in inner corners, on the cupid’s bow, and as a base. Diffused light, no chunky shimmer.
7. Blend Foundation Into Your Ears and Jawline
The Tweak
After applying foundation, use whatever’s left on your sponge to blend lightly into the neck, jawline, and fronts of your ears.
Why It Works
Stopping foundation at the jaw creates a visible line between “wearing makeup” and “just having great skin.”
Most people only notice the jaw line problem when they see themselves in a photo or catch their reflection in the wrong light. You can have a great application across the whole face and still look like you’re wearing a mask if there’s a hard stop at the jawline. After blending your foundation, use whatever product remains on your sponge to soften the edge along the jaw, down slightly onto the neck, and across the fronts of the ears. You’re not adding more foundation. You’re just taking the hard stop out of it.
Ears are perpetually forgotten and they become very obvious in photos and in side lighting. If your foundation skews warm and your ears are pinkish or a notably different tone, it creates a contrast that’s distracting in a way that’s hard to name but easy to clock.
Getting the shade right in the first place helps enormously. When testing in store, swatch along the jawline in natural light, not the wrist or cheek. The shade that disappears into the jaw without adjusting is the right one.
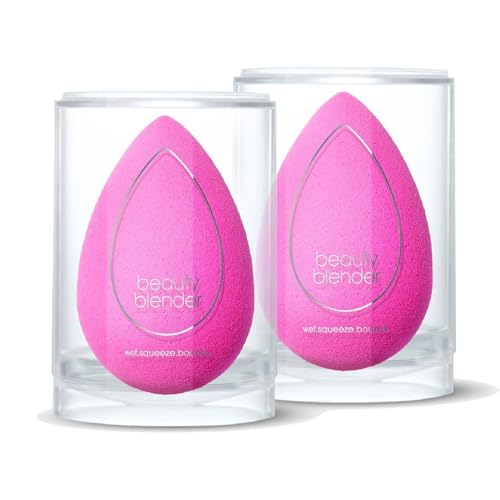
Beautyblender Original
The #1 pick for invisible foundation blending. The damp-then-blend sponge that disappears foundation into the jaw, ear, and hairline without a visible line. The original, still the best. Certified cruelty-free (PETA).
8. Apply Concealer in a V Under Your Eyes, Not a Half Moon
The Tweak
Draw concealer in an inverted triangle under the eye, pointing toward the cheekbone. Blend from the bottom of the V upward.
Why It Works
A half moon only covers darkness directly under the eye and misses the inner corner, which is almost always the darkest spot. The V catches it and acts as a subtle highlight for the whole area.
Most of us apply under-eye concealer in a half moon shape, following the curve of the dark area. The problem is that the inner corner near the nose is almost always the darkest part, and a half moon doesn’t reach it. The V or inverted triangle covers from the lash line down toward the cheekbone on the outer side, and extends inward to catch that inner corner shadow that’s been quietly making you look tired while the half moon ignored it entirely.
The bigger coverage area also acts as a mild highlight for the whole under-eye zone. Use a damp sponge and pat from the tip of the V upward and outward until it blends into the foundation. Pat, never drag. Dragging just shifts everything sideways.
If the darkness has a distinctly bluish or purple cast, a peach or orange color corrector pressed on before the concealer will neutralize it better than layering more concealer ever will. More concealer on a color problem is just more concealer on a color problem.
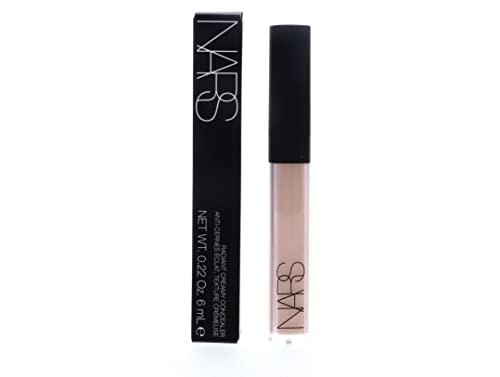
NARS Radiant Creamy Concealer
The #1 pick for the V under-eye technique. The makeup-artist favorite that brightens without creasing. The radiant finish makes a V-application look natural rather than chalky.
9. Only Set Where You Actually Need It
The Tweak
Stop powdering your whole face. Set the T-zone, under-eyes, and wherever products actually slip. That’s it.
Why It Works
Powder on dry or normal skin flattens it, emphasizes texture, and removes the luminosity that makes skin look healthy. Set what needs it and leave the rest alone.
If your makeup consistently looks flat, heavy, or older than you feel, over-powdering is one of the first things worth looking at. Powder is matte and flattening, which makes it genuinely useful for controlling shine and preventing concealer from creasing, but actively counterproductive everywhere else. The full-face powder habit came from tutorials made for very oily skin and got adopted wholesale by people who definitely don’t have very oily skin. Skipping the full-face powder is one of those makeup tweaks that instantly makes skin look more alive.
Where powder actually belongs: under the eyes, the center of the forehead, the nose, the chin, and any specific area where your skin gets oily. Cheeks, temples, and the outer face don’t need it. Leaving those areas bare lets your skin’s natural texture and any glow products you layered underneath actually come through instead of being buried.
Finishing with a mist of setting spray rather than more powder is the better move for almost everyone who isn’t extremely oily. It pulls everything together, takes away any powdery cast, and gives skin a finish that actually looks like skin rather than skin that has been processed. Swapping powder for setting spray is one of the most effective makeup tweaks for a natural look.
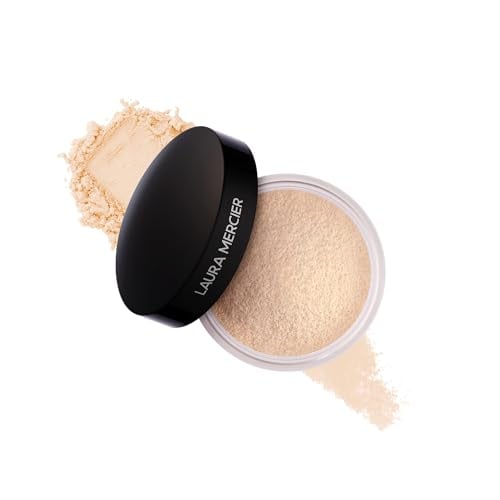
Laura Mercier Translucent Loose Setting Powder
The #1 pick for targeted setting powder. The translucent powder makeup artists keep in every kit. A small amount under the eyes and on the T-zone sets without flattening the rest of the face.
10. Let Mascara Dry Before Cleaning Smudges
The Tweak
When mascara transfers to your lid, leave it. Let it dry completely, then flick it off with a dry spoolie or cotton swab.
Why It Works
Wiping wet mascara smears it and drags your eyeshadow with it. Dry mascara flakes off cleanly and leaves everything underneath completely intact.
When mascara transfers to your lid, every instinct says to wipe it immediately. Don’t. Wet mascara smears into a grey-black stain and takes your eyeshadow with it, and then you’re starting over. Dry mascara comes off as a solid flake that lifts cleanly without disturbing anything underneath. Finish your lips, check your brows, give it two minutes, then sweep it away with a dry spoolie or cotton swab. Eyeshadow completely intact. You’re welcome.
While you’re at it, wipe the mascara wand on a tissue before each coat. Excess product on the brush is the main cause of clumping, and removing it before it hits the lash gives you a cleaner, more separated result from the exact same formula. Never pump the wand in and out of the tube. It pushes air in and dries the mascara out much faster.
None of this requires buying anything, which is the part the beauty industry would rather you not dwell on. The people whose makeup consistently looks the most natural aren’t using better products. They’re curling before mascara, blending past the jaw, putting their blush somewhere it actually lifts the face. It’s not magic. It’s just the version of the routine nobody bothered to write down. These are the makeup tweaks worth knowing.
And when you do find something worth emptying, something you use all the way down and immediately replace, that’s always been our signal that a product is actually earning its place.
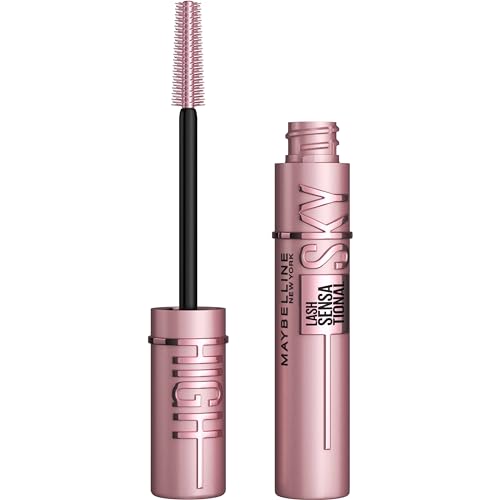
Maybelline Sky High Mascara
The #1 drugstore mascara pick. The drugstore mascara that’s repurchased over a million times a year on Amazon alone. Long, separated lashes, easy to remove without smudging the next morning.
More From Beauty Empties
- The Everyday Lipsticks People Wear Down to the Nub
- The Best Foundations People Actually Use Up
- Stop Doing Your Makeup Like This After 50 — It’s Aging You Fast
- Drugstore Beauty Products Under $25 That People Repurchase on Repeat
- The Best Toners People Repurchase
- 6 Eye Creams That Made a Skeptic a Believer
Frequently Asked Questions About These Makeup Tweaks
Why does my makeup always look heavy or cakey?
Usually over-powdering. Applying setting powder across the whole face flattens the skin and emphasizes texture, especially on drier areas. Try setting only the T-zone and under-eyes, and finish with a mist of setting spray rather than a second pass of powder. These small makeup tweaks to application make a noticeable difference.
Makeup Tweaks for Eyes: What’s the best way to make eyes look bigger without a dramatic eye look?
A nude pencil on the lower waterline and a small press of shimmer at the inner corners. Both open the eye considerably and neither involves any real blending skill. These are classic makeup tweaks pros rely on.
Makeup Tweaks for Foundation: How do I stop my foundation from leaving a visible line at my jaw?
Start with the shade. Test it on the jawline in natural light, not the wrist or cheek. The right shade disappears at the jaw without any adjusting. Then, after blending your foundation, use whatever’s left on your sponge to soften the edge along the jaw, down onto the neck, and across the ears. These are the kind of makeup tweaks that save you from having to go back and fix anything.
Does blush placement really make that much of a difference?
More than almost anything else in a routine. Low blush, placed on the apples, adds width and pulls the face down. High blush, toward the cheekbones and temples, blended upward, creates the kind of definition that contour alone rarely delivers. If your blush has ever looked off or too much, placement is almost always why, not the shade or the formula. Among all makeup tweaks, changing where you place your blush is the most underrated.
In what order should I apply these?
Curl lashes first, before any eye products. Then base: foundation blended into the jaw and ears, concealer in a V, powder only where needed. Eyes: shadow, liner, waterline, mascara last. Then blush high, highlighter at the inner corners and Cupid’s bow, lips after balm. This order is one of the most reliable makeup tweaks for getting everything to sit correctly.
A cruelty-free mark means the brand is certified by PETA, Leaping Bunny, or both at the time of writing. A missing mark doesn’t mean a brand tests on animals; it just means the brand isn’t certified by these programs.
Want to become a Beauty Empties Expert?
BEEs get free products to test, exclusive discount codes from our brand partners, and live access to The Hive sessions with dermatologists and beauty editors. Spots are limited and hand-picked.