The Soft Romantic Rose Makeup Look, Step by Step (Tutorials Included)
Rose makeup seems to be everywhere these days, but I’m not surprised! It’s been around as long as, well, makeup has, and for good reason. It’s a classic and is generally flattering on most skin tones.
If you buy through our links, we may earn a small commission at no cost to you. As an Amazon Associate, we earn from qualifying purchases. Our policy
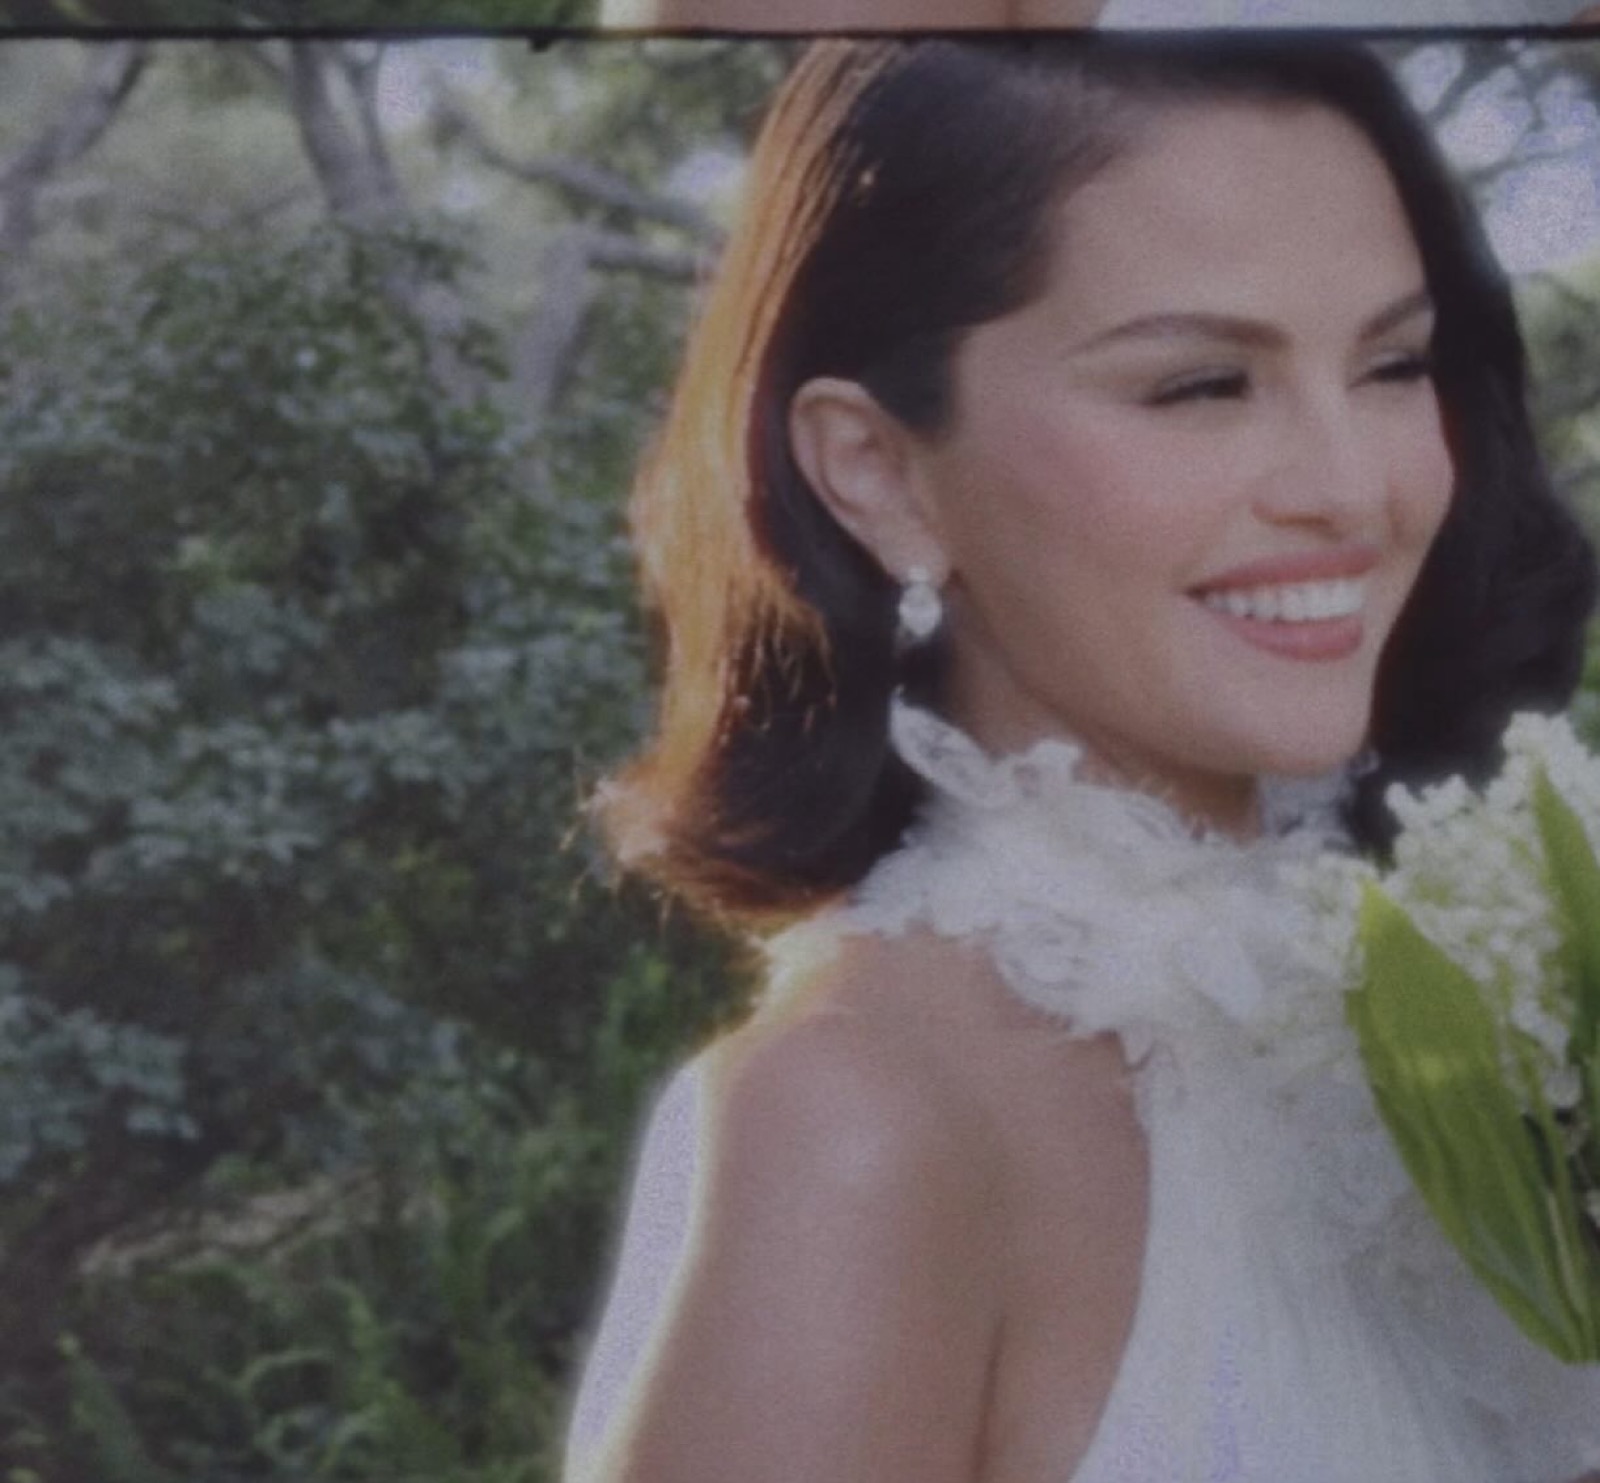
Selena Gomez got married in a rosy color scheme. And if you’ve looked through any of the bridal boards on Pinterest recently, they’re covered with rosy hues. No matter the age or event, a soft rose makeup palette looks beautiful on everyone.
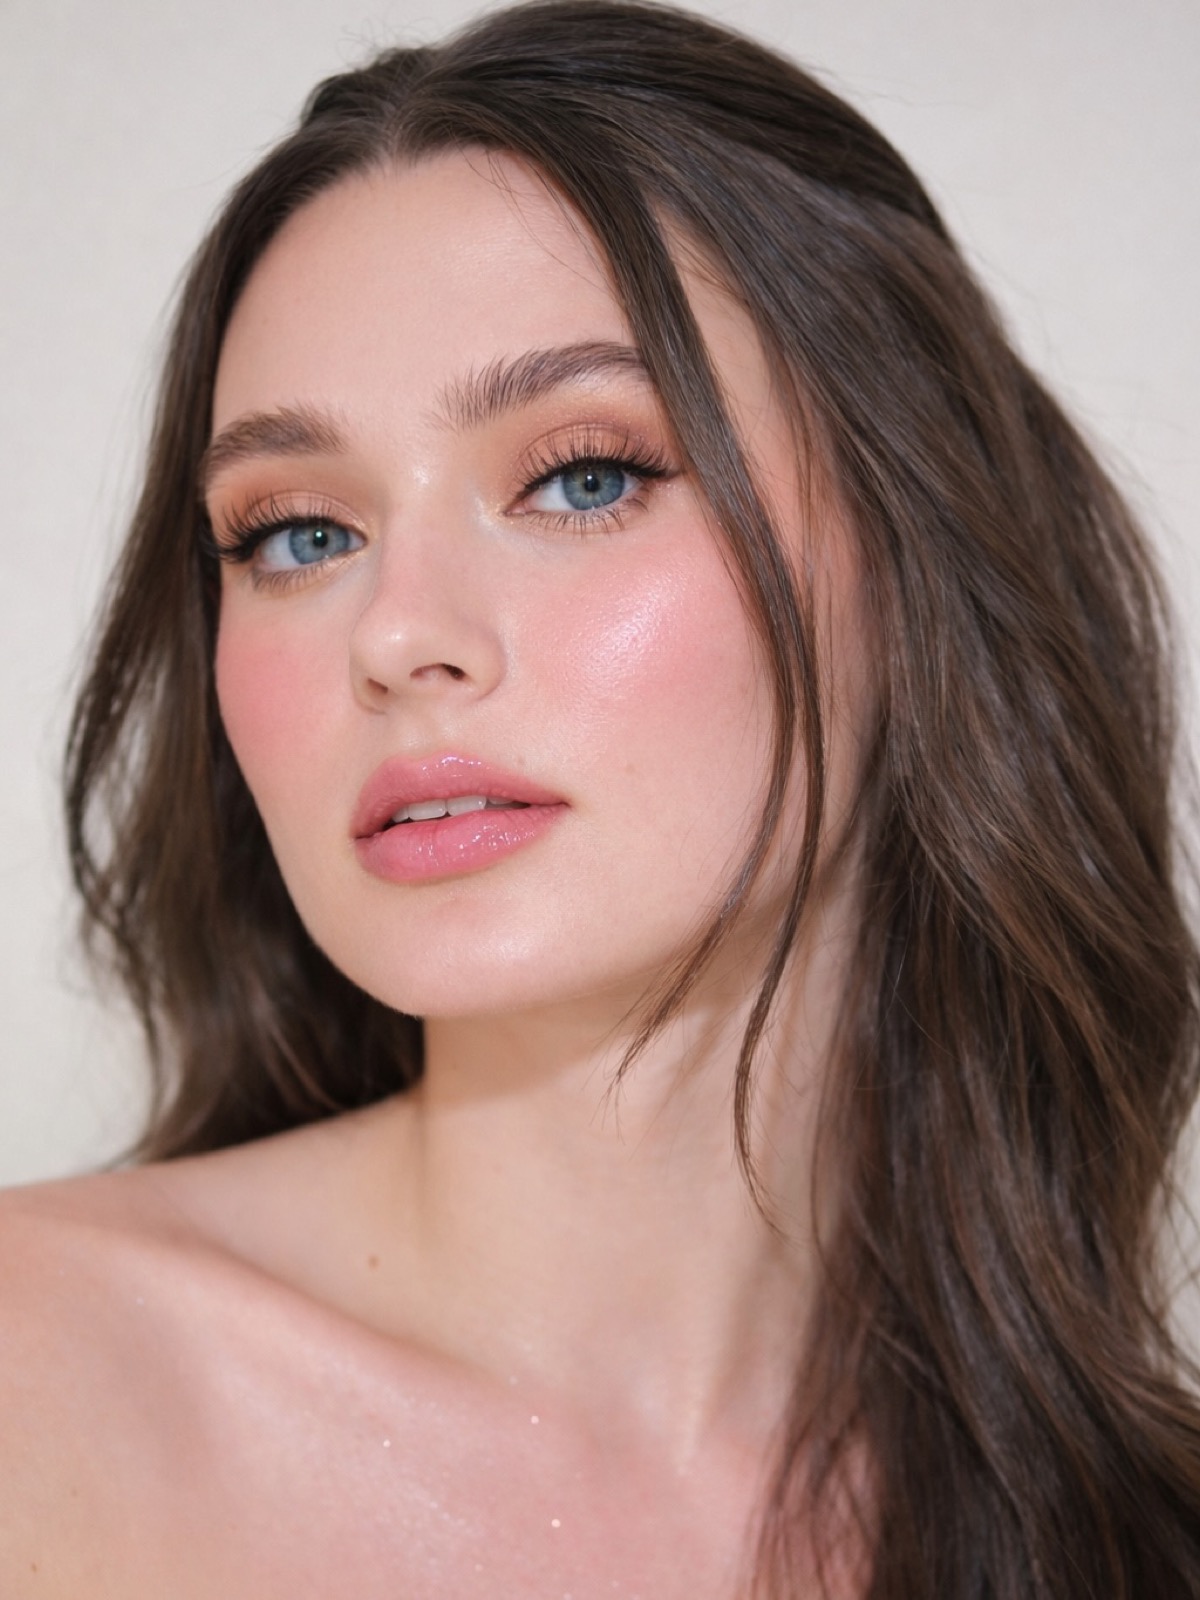
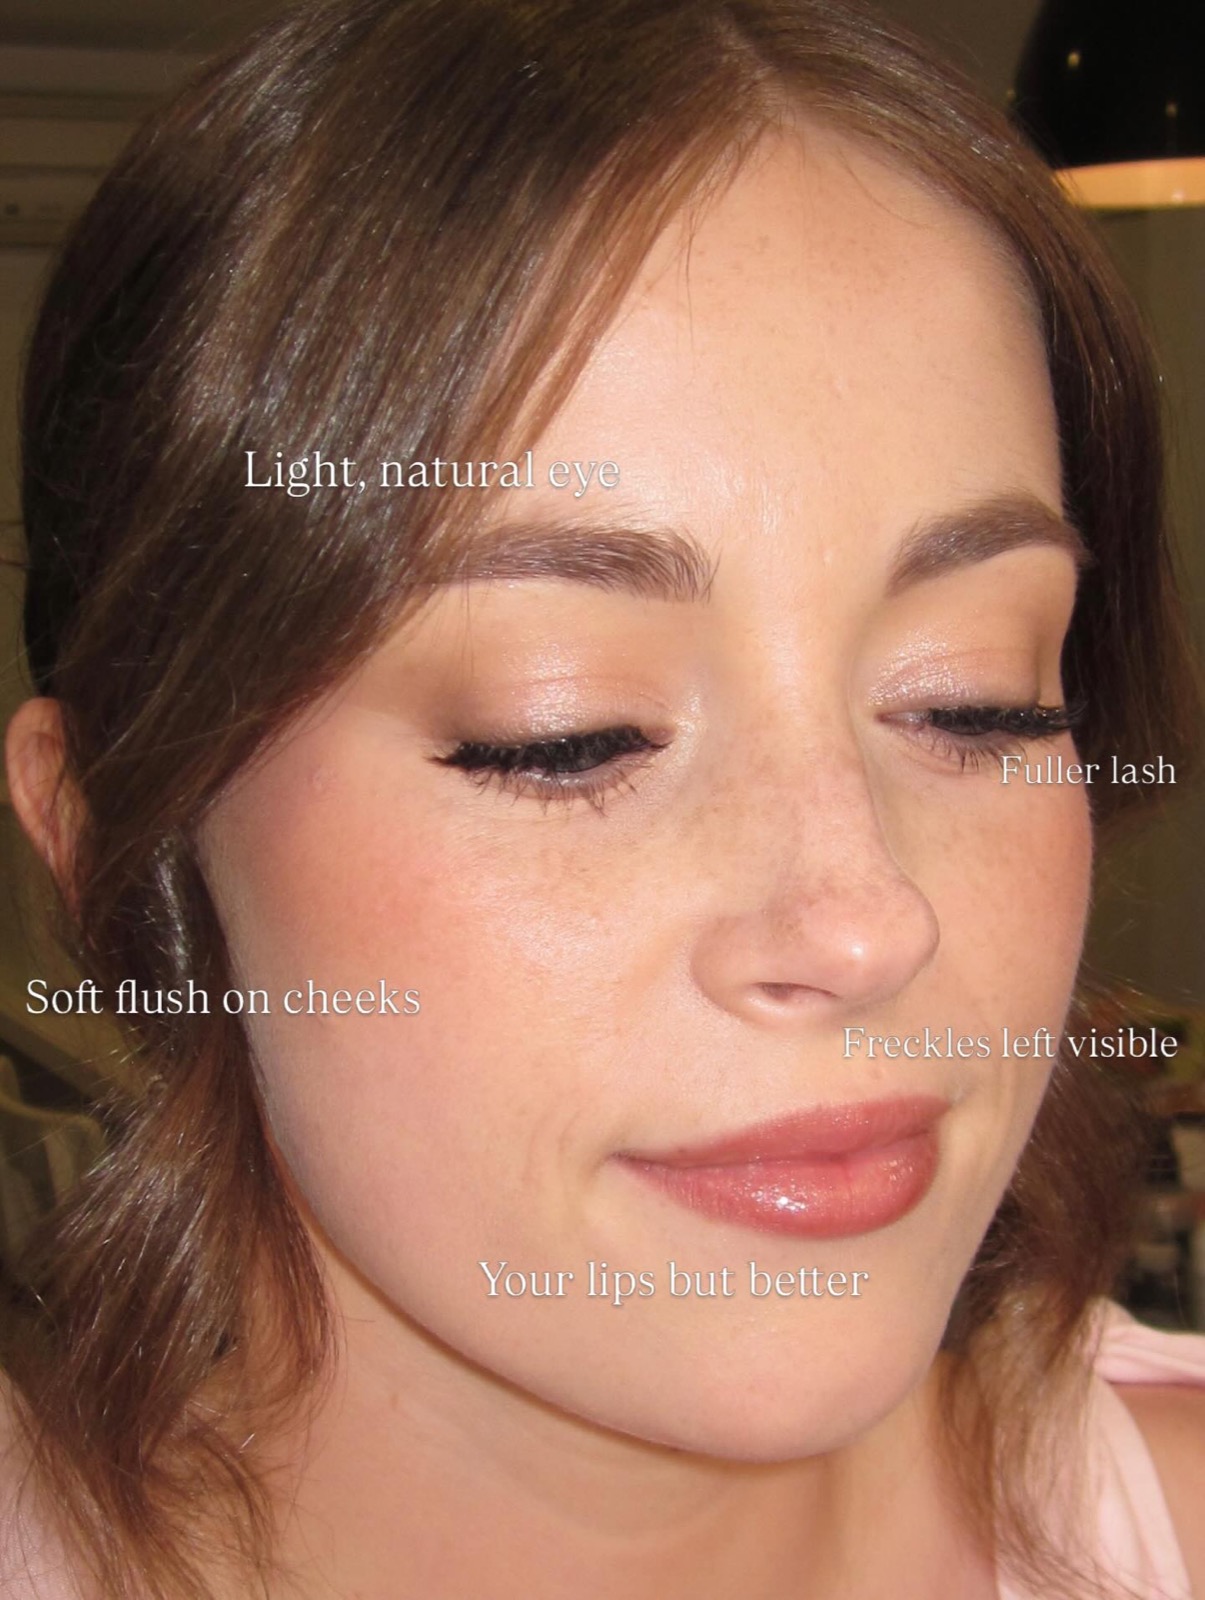
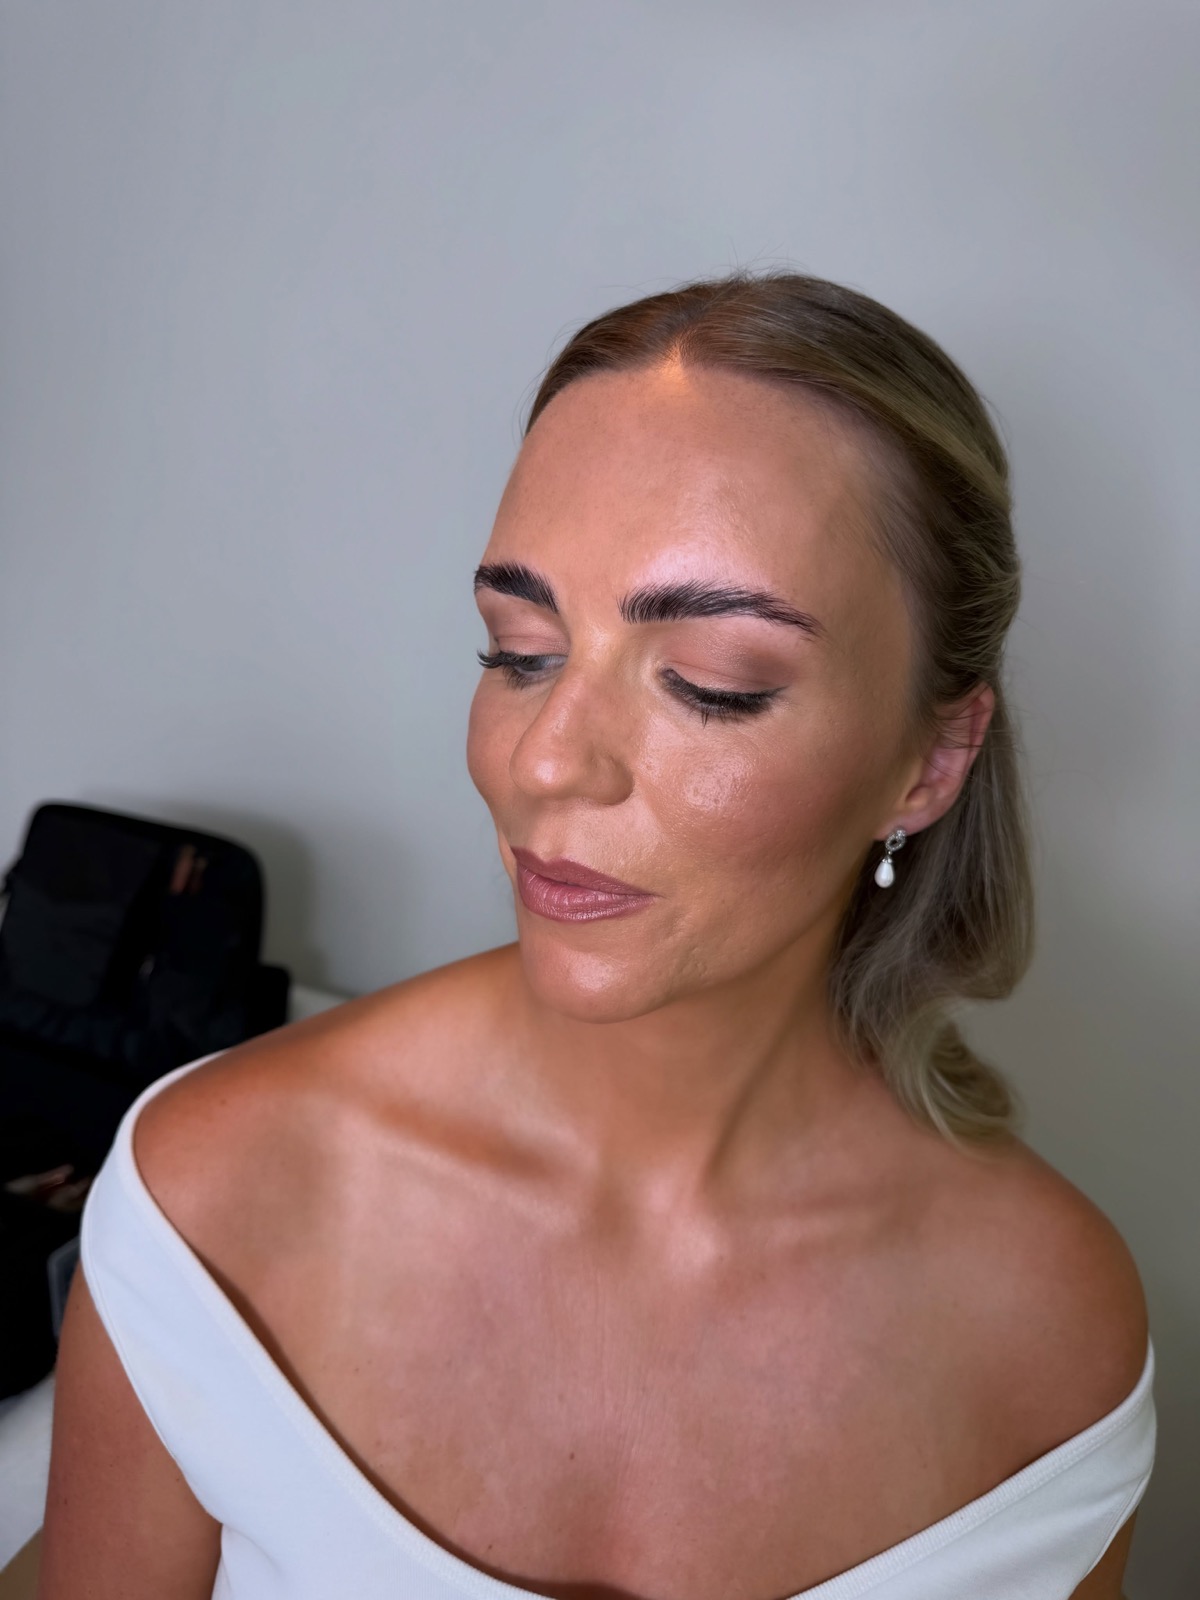
There are lots of different names for the “rose” look depending on who you ask. We’ve seen English rose, regency-core, rosewater…but all of these styles have the same idea: rosy cheeks, rosy eyes, and a rosy lip. Sort of like you’ve just had a great workout, a brisk walk on a cool morning, or you’ve done something else we won’t write about here LOL. It’s a healthy, vibrant look, and I love that it doesn’t involve a whole lot of expertise to get right.
But that doesn’t mean we don’t lean on the pros for tips. We’ve got the inside info on how the pros layer each shade, the products people finish and buy again, and a video tutorial for each stage, including two made specifically for those of us over 40.
The Buzz
In early 2024, a wave of rose looks emerged in soft pinks and no-makeup skin inspired by the “balletcore” aethetic (searches for it jumped 253%, according to a Beauty Pie trend report). That same summer the English Rose single tone trend emerged, in part due to the popularity of Bridgerton, whose stars had that romantic flushed rose look in spades.
Step 1: Start With Skin That Looks Dewy, Not Done
This look starts with fresh-looking skin: some of your actual skin should show through whatever you apply. Heavy matte foundations are better saved for another time, as they’ll fight the flush effect you plan to add on top of them.
Makeup artist Kim Baker (founder of GLAMAZON Beauty) keeps the prep simple: “Look for products that moisturize and prime at the same time.” Beauty expert Franchesca Villar is specific about the base itself: “Light coverage is key, whether that’s a tinted moisturiser, skin tint or sheer foundation.”
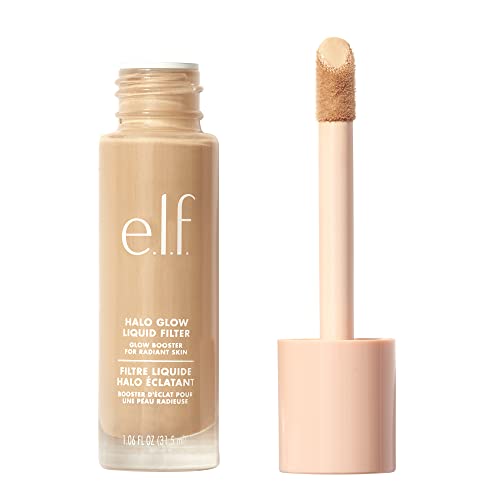
e.l.f. Halo Glow Liquid Filter
The $14 glow booster with nearly 10,000 reviews that made the dewy canvas a drugstore thing. Certified cruelty-free (PETA).
One of our Beauty Empties Experts (BEEs) bought the e.l.f. Halo Glow the day it launched, “which is something I NEVER do.” The honest notes from the hive: shades run darker than the names suggest, so go two lighter if you’re between two, and skip it if your skin turns oily by noon.
Step 2: The Flush Is the Whole Look
This is the step the entire look hangs on. Rose blush, placed a little higher and blended a little softer than your everyday blush, is what makes the finished face read romantic rather than plain pink.
Celebrity makeup artist Nikki DeRoest (founder of Ciel Cosmetics) describes the layering approach: “For cheeks, I like to layer tones to create that romantic, natural flush.” She builds cool pinks slowly, and her standard is worth memorizing: “The goal is always for the blush to look like it’s coming from within the skin rather than sitting on top of it!”
Shade alone isn’t everything; placement matters just as much. The pro default right now sits higher than you probably learned: start on the apples of the cheeks, then blend up along the cheekbones toward the under-eyes. Makeup artist Jamie Greenberg (founder of JamieMakeup) explains why you don’t want to go low: “Placing blush too low on the cheeks can work against the look. This will drag the face down rather than the snatched look.”
My favorite placement advice came from one BEE, though: “wait until you’re naturally flushed- blushing, after workout, after cold weather- remember or take pic of where you actually blush. It was nowhere near where I expected.” Another BEE keeps it old school: “I do like an awkward half smile in the mirror and put the blush on the apples of my cheeks. It’s what works best, for me.” Both approaches beat guessing.
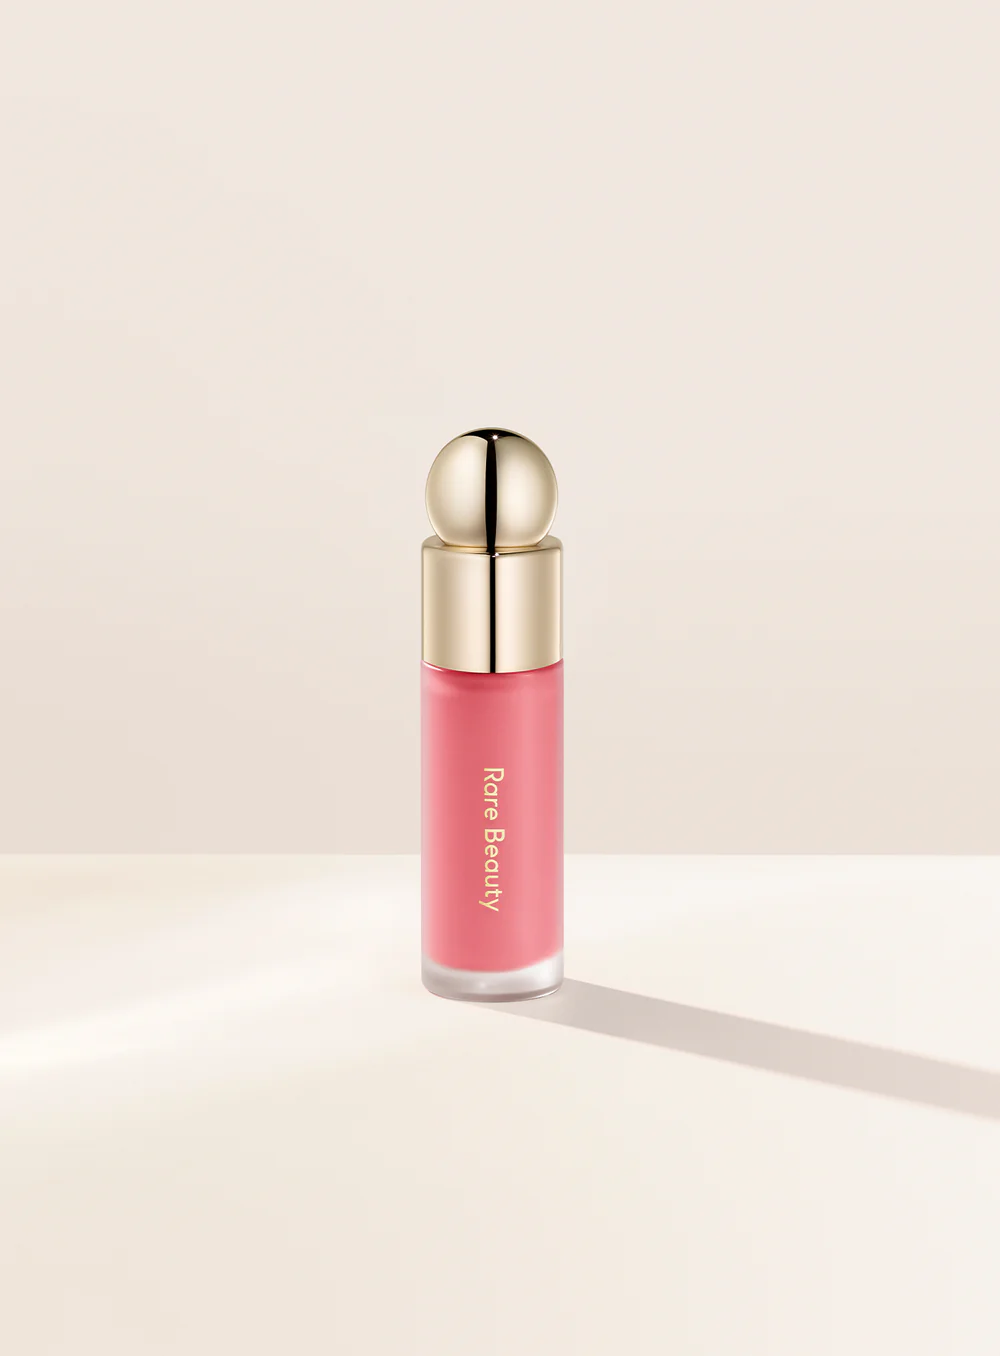
Rare Beauty Soft Pinch Liquid Blush in Happy
The Allure-award-winning liquid blush where one small dot per cheek is the whole application. Certified cruelty-free (PETA).
As for which rose to choose, let your undertone decide. Cool skin can carry a true pink like Rare Beauty’s Happy. Those with warm and olive skin tend to look great in a rose-colored blush with a touch of peach or mauve in it; Hope is the mauve colored one within the same line, and Rhode’s Piggy would work if you prefer a stick. We created an entire article on how to figure out your undertone and color season if you’re unsure whether your skin falls into either category.
From the Hive
The buzz from our Beauty Empties Experts. Sign up to join!
Our BEEs are unanimous on the pigment of Rare Beauty’s Soft Pinch and split on the learning curve. One dot per cheek is the dose; two if you’re deeper than medium. BEEs who overdid it the first time still repurchased, and several report tubes lasting two years and counting. The recurring gripe is the oversized doe-foot applicator, which picks up more product than any face needs.
Step 3: Rosy Eyes (Without Looking Like You’ve Been Crying)
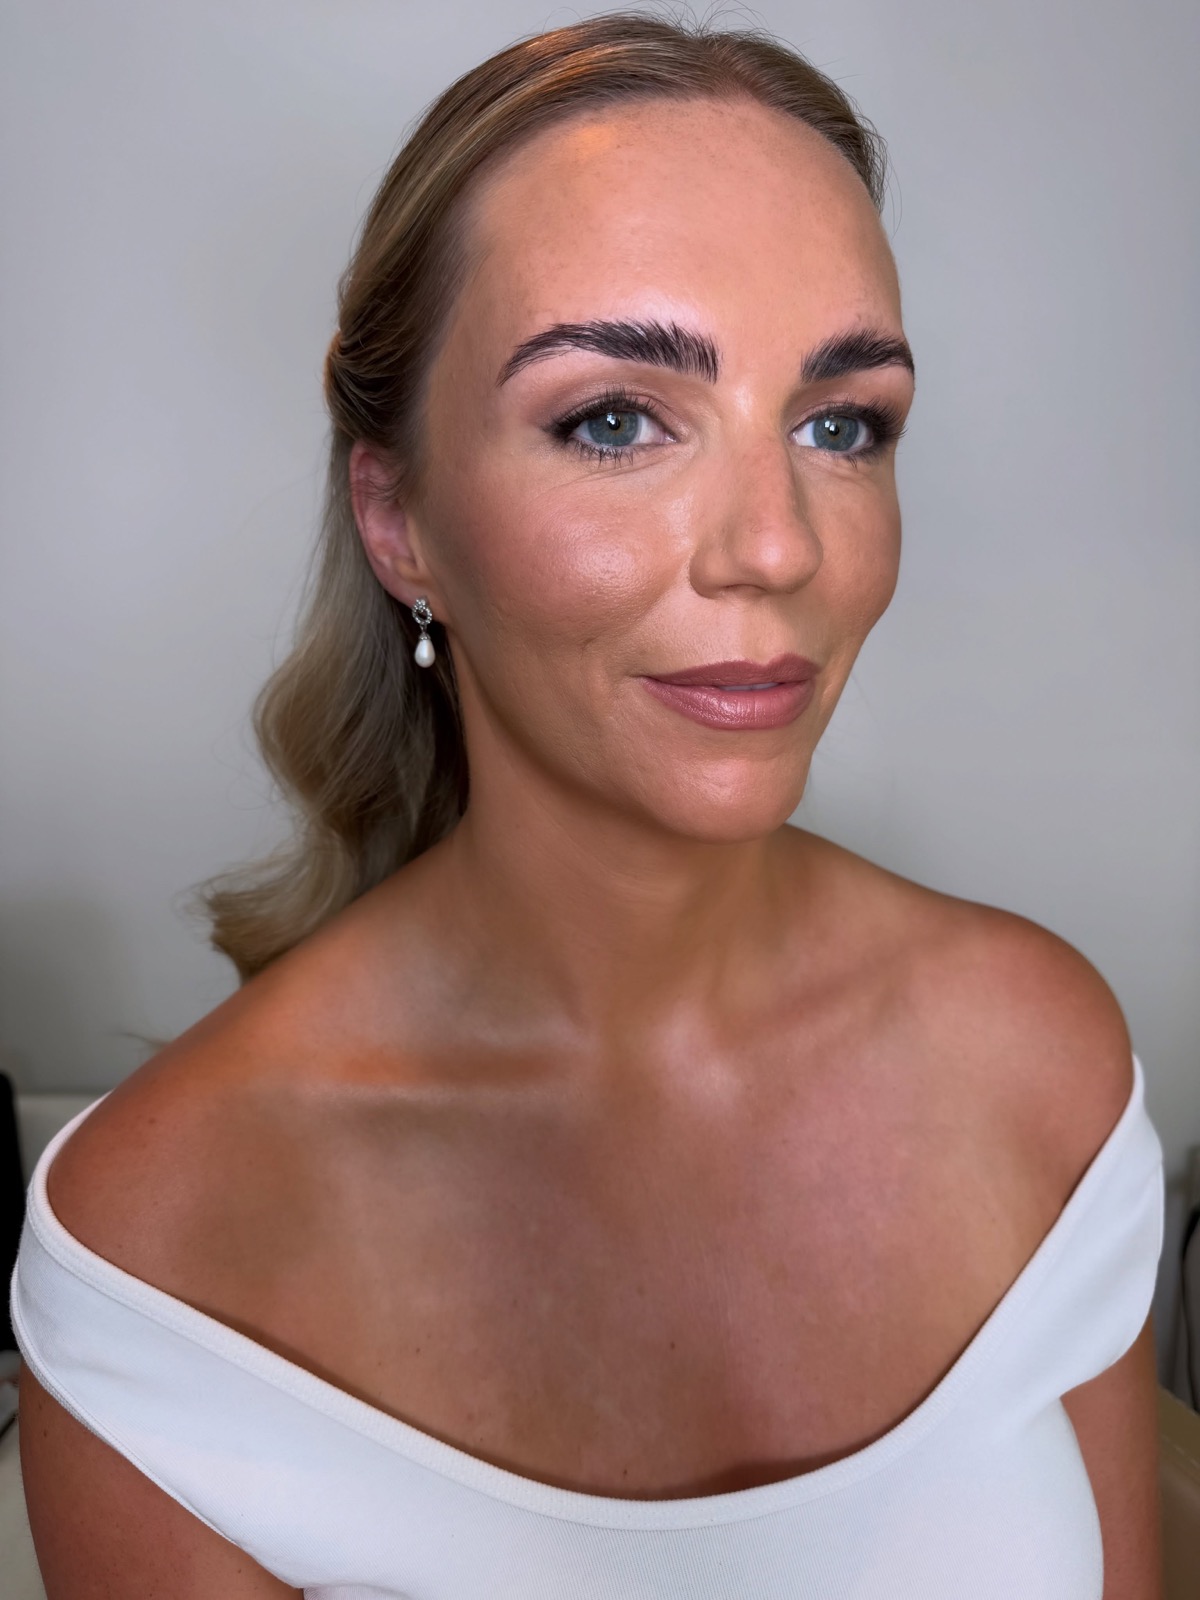
Pink near the eyes scares people, and fair enough. One BEE put the risk plainly: “if I overdo pink around my eyes – I just end up looking like I’m ill or have pinkeye.” DeRoest’s rule for the lids: “pastel shades work best when they’re slightly diffused rather than overly precise.”
The trick is picking rose colors with a bit of brown or mauve in them, keeping the most intense pinks away from the waterline, and then diffusing all of it. Practically speaking that will mean a soft satin rose color on the lid (not too bright), something slightly darker applied to the crease and along the lash line for definition, and using fingers as opposed to brushes if your shadow tends to look stripey.
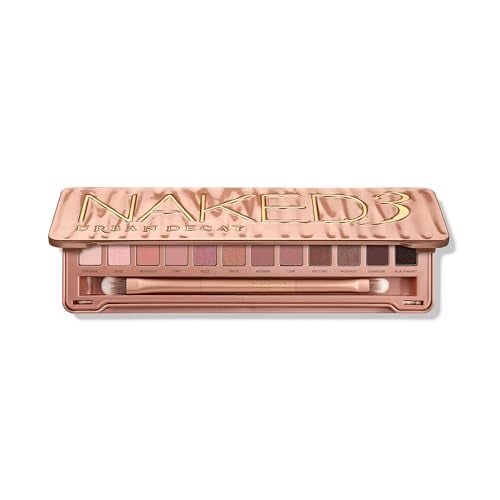
Urban Decay Naked3 Eyeshadow Palette
Twelve rose-toned neutrals that have anchored this exact look since 2013. Certified cruelty-free (PETA).
A few BEEs also find the whole palette pulls too rosy on warm complexions, which is worth a counter swatch before the $59 commitment.
From the Hive
BEEs treat Naked3 as the default rose palette, especially for cool and fair skin, and the mattes swatch stronger than most palettes in its class. The formula runs powdery, so a primer is the difference between a morning look and an all-day one.
Step 4: A Just-Bitten Rose Lip, Two Ways
The lip on this look is never sharp. Villar’s description is the target: “Lips should look naturally tinted, as if flushed from within. Rose, berry stains or muted coral shades work beautifully.”
The easy road is a tinted balm, blotted on with a finger so the edges stay soft. Makeup artist Simone Otis (who has worked with Sandra Oh and Caitriona Balfe) says applying color “in a diffused way helps to blend the colour with your natural lip tone.”
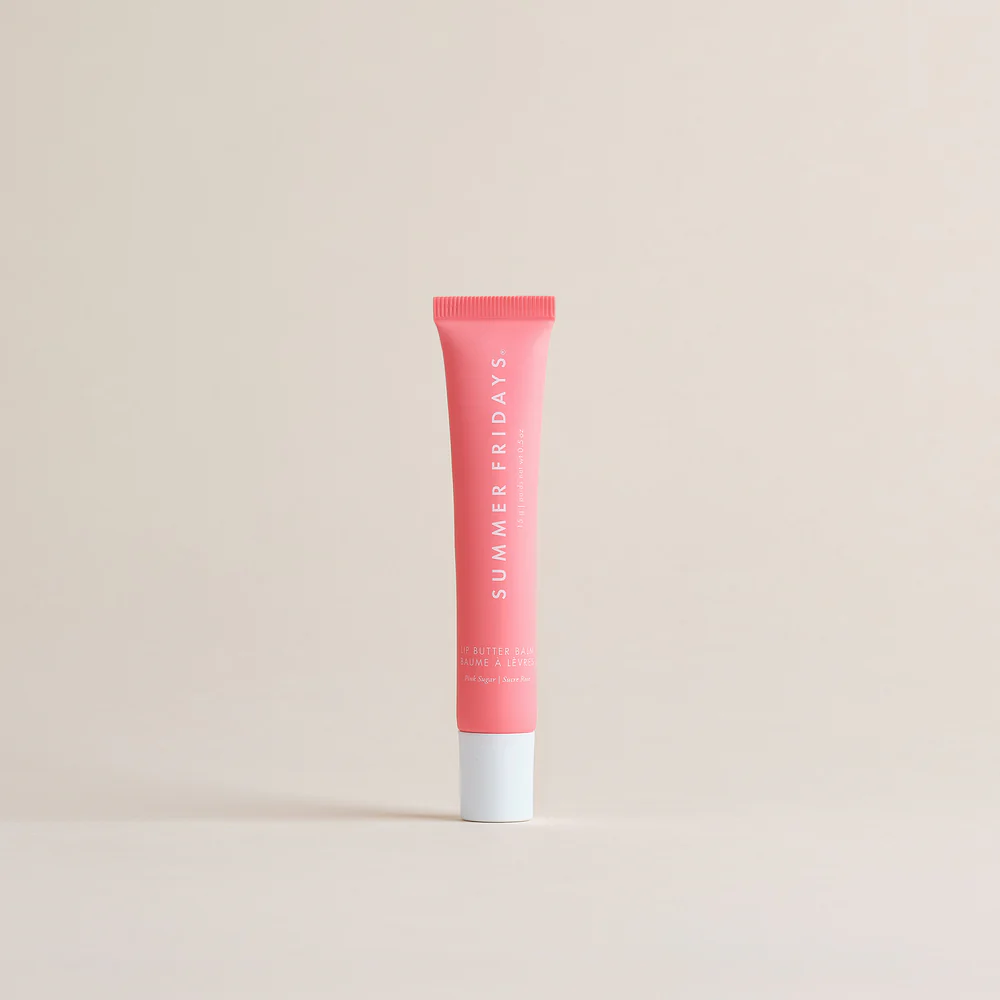
Summer Fridays Lip Butter Balm in Pink Sugar
The Allure-award balm in its sheerest pink shade, for barely-there color with real shine. Certified cruelty-free (Leaping Bunny).
Fair warning from the hive on this one: Pink Sugar is SHEER. If you want the tint to show up in photos, it’s the wrong shade in the right formula. One BEE gave up after two months: “Color is meh and it doesn’t hydrate my lips at all. Just sticky.” The BEEs who love it wanted a treated-lip look rather than a lipstick effect, and that’s the honest dividing line.
The slightly more done version is the pro go-to: a rose-nude lipstick in the Pillow Talk family, blotted down. It’s at every third wedding at this point. Blotting will be an easy fix to the single complaint everyone has about lipstick at events; apply it, put a tissue on top of your lips, and you have a stain. One BEE planning her own wedding put the appeal (and the problem) in one line: “I want to do a pillow talk wedding look but how am I expected to kiss my husband when I got gloopy lipstick on?”
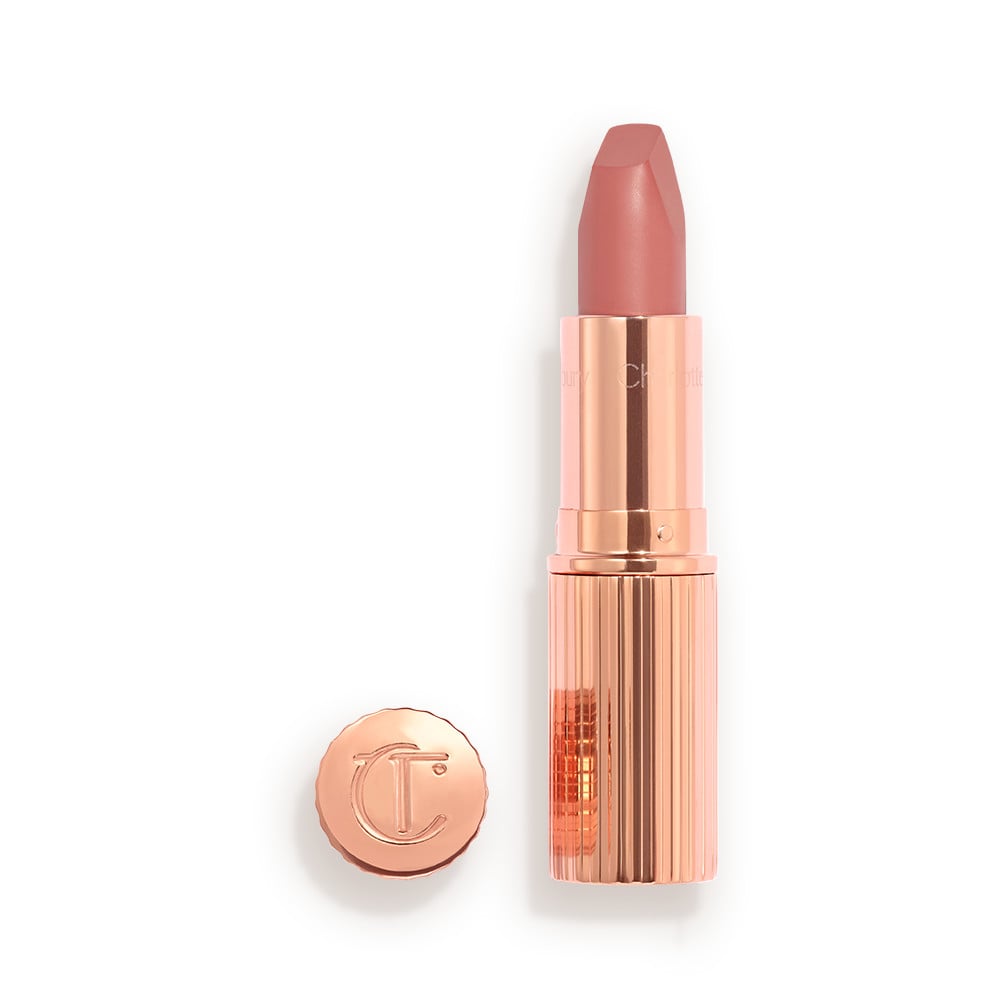
Charlotte Tilbury Matte Revolution Lipstick in Pillow Talk Original
The rose-nude that started a 23-shade franchise; Charlotte Tilbury says one sells every two minutes.
The honest critique, straight from a longtime BEE: “That’s so funny that CT has different versions of Pillow Talk now when the original was marketed as ‘universally flattering’ which it never was.” True. The original leans pink-beige, and if you’re deeper than medium, Pillow Talk Medium or Intense is the closer match. It also fades through a real meal, so it rides along in the bag.
Step 5: Glow Where Light Lands
Skip the glitter entirely. Makeup artist Mira Parmar builds the balletcore version with “lots of beautiful pinky highlighter on the cheek bones, cupids bow and bridge of the nose to create that glow.” A pink-toned cream or liquid keeps the glow in the same color family as everything else, which is half of why monochrome looks so pulled-together.
Apply after your blush using a light touch. Your skin should catch the light and look healthy, not carry a highlight you can spot from across the room. If any shimmer at all is too much shimmer for you, Merit’s Day Glow balm in Bounce (a rosy highlighting balm with zero sparkle in it) is the least sparkly version of this step available.
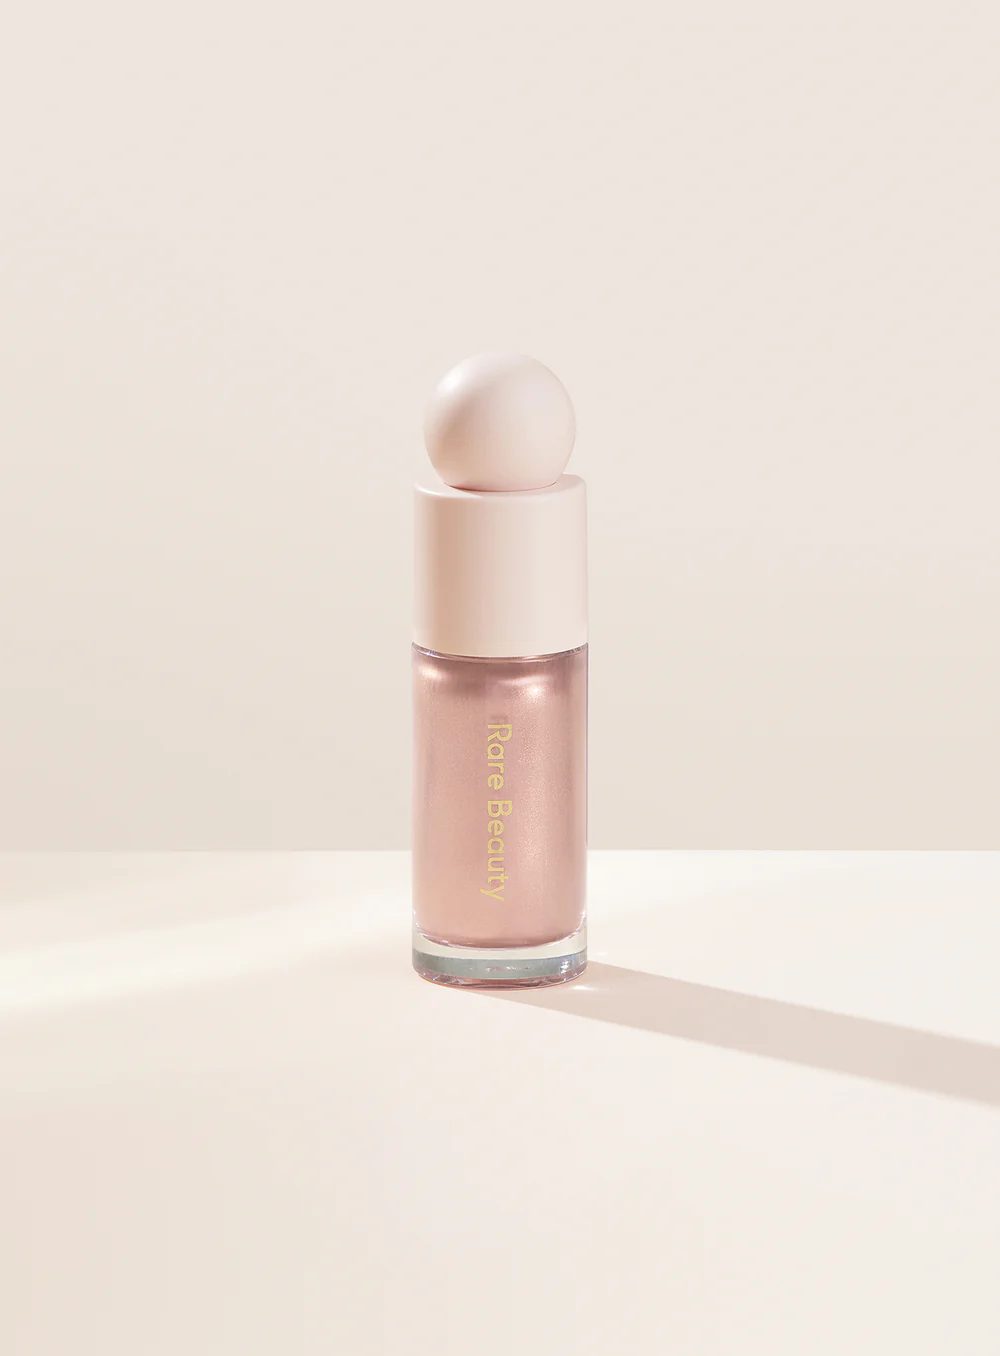
Rare Beauty Positive Light Liquid Luminizer in Enchant
A soft-pink liquid glow that melts in with fingers, no brush required. Certified cruelty-free (PETA).
It holds a 4.9 average across nearly 1,500 reviews, with one caveat BEEs flag for this exact look: rub it over cream blush and it can lift the blush right off. Tap it on with a finger and leave it alone.
Step 6: Keep the Rest of the Face Simple
Everything that isn’t rose plays a supporting role. For brows, Villar keeps it minimal: “Think natural shape, softly brushed through with a clear or lightly tinted gel. There should be no harsh angles or overly defined arches.” Skip contour, or keep it to a shadow’s worth. Mascara stays, but consider brown instead of black if you’re fair; the whole look softens one more notch.
One more cohesion trick from a BEE that I’m stealing permanently: after blush, “bring any extra blush on your brush across the nose, chin, and forehead. adds some cohesion and makes your skin look more natural/flushed.”
The Over-40 Version (Small Adjustments, Same Look)
This style is practically made for us. The flush finish looks fresh regardless of age, and because this is a low shine application, we’re avoiding the two things that tend to misbehave on skin with some living in it: glitter and sharp lines. With a few tweaks, it performs even better. On the lid, keep the rosy shadow satin instead of shimmer; apply your blush very high (high on the cheekbones, not 2016’s only-apples method); and a blotted lip keeps color from settling into lip lines.
Sam Chapman (the makeup artist behind Pixiwoo and Real Techniques) filmed a romantic, elegant full-face specifically for 40+ that walks through every one of those calls. Right below it is a second option from JoEllen, built around over-40 skin prep from the very first step, and it’s worth your ten minutes.
Watch the Whole Look in One Sitting
Hung Vanngo (who did Selena’s wedding makeup above) posted a wearable version this past December. Watching him build it start to finish is the quickest way to absorb how light a touch this look runs on. He goes well beyond what most people would consider blending, and the finished face still mostly looks like skin.
A cruelty-free mark means the brand is certified by PETA, Leaping Bunny, or both at the time of writing. A missing mark doesn’t mean a brand tests on animals; it just means the brand isn’t certified by these programs.
What Our BEEs Are Buzzing About
Here’s the beauty community demonstrating the rose look in action:
Want to become a Beauty Empties Expert?
BEEs get free products to test, exclusive discount codes from our brand partners, and live access to The Hive sessions with dermatologists and beauty editors. Spots are limited and hand-picked.
Related Articles
- The Modern Makeup Styles That Work After 50 (From Soft Glam to Glass Skin)
- How to Find Your Undertone and Color Season (and Finally Wear Your Best Colors)
- How to Lift Your Face With Makeup, No Needles Required
- 7 Foundation Mistakes That Aren’t Doing Wrinkles Any Favors
- How to Apply Makeup for Glasses: 14 Tips and Tutorials